Introduction
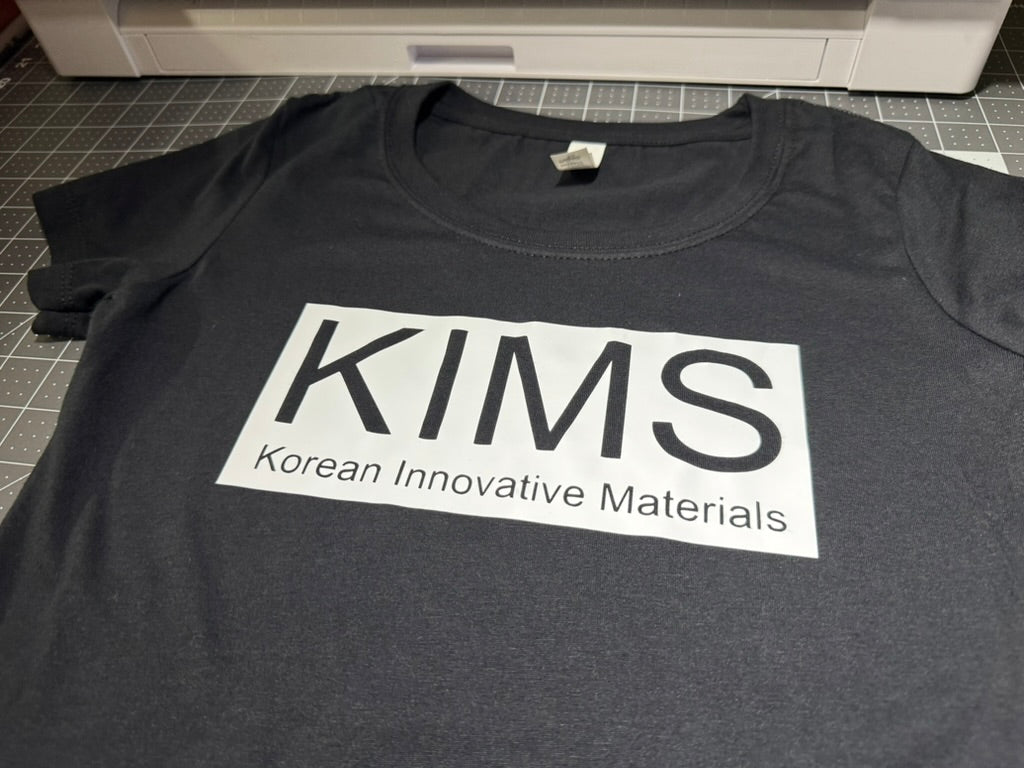
Heat transfer vinyl (HTV) is a key material used in custom apparel, accessories, and craft projects. When paired with a Cricut machine, HTV allows users to create personalized designs by cutting shapes, letters, or logos that can be applied to various fabrics using heat.
Not all HTV performs the same way on a Cricut. Some materials cut cleanly and weed easily, while others may tear, curl, or fail to stick properly after pressing. These differences can affect the final look and durability of the finished product.
This guide explores how HTV interacts with Cricut machines, compares different options, and offers practical advice for selecting the right type of vinyl based on your project type and material.
Why Choosing the Best Heat Transfer Vinyl for Cricut Matters
Heat transfer vinyl is a material made from polyurethane (PU) or polyvinyl chloride (PVC) that bonds to fabric when heat and pressure are applied. It is used with Cricut cutting machines to produce custom designs that are later pressed onto garments or other textile-based items.
HTV differs from adhesive vinyl, which sticks to hard surfaces like glass, wood, or plastic without heat. HTV has a heat-activated adhesive and comes with a carrier sheet to hold the design in place during the pressing process.
When using a Cricut machine, the quality of HTV affects how precisely it cuts and how easily you can weed intricate designs. Thicker or lower-grade vinyl may drag or bunch during cutting, making detailed work difficult.
Weeding (removing excess vinyl from around your design) becomes easier with high-quality HTV that has good visibility and the right amount of grip. After application, better vinyl creates a stronger bond that withstands washing and regular wear without peeling or cracking.
Comparing Top HTV Brands for Cricut Machines
The market offers several heat transfer vinyl brands that work well with Cricut machines. Each has unique characteristics that make it suitable for different projects.
Siser EasyWeed
Siser EasyWeed is popular among crafters for its thin profile and easy application. It works on cotton, polyester, and blends.
-
Cutting performance: Cuts cleanly with minimal drag
-
Weeding ease: Excess vinyl removes smoothly from carrier sheet
-
Application: 305°F for 10-15 seconds with medium pressure
-
Durability: Maintains color and adhesion through multiple washes
-
Best for: T-shirts, detailed designs, and layered projects
Cricut Everyday Iron-On
Cricut's own brand of HTV is designed specifically for their cutting machines. It offers reliable results for most standard projects.
-
Cutting performance: Optimized for Cricut machine settings
-
Weeding ease: Medium difficulty, works well with standard designs
-
Application: 315°F for 30 seconds with firm pressure
-
Durability: Good wash resistance with proper application
-
Best for: Basic apparel, home decor, and beginner projects
ThermoFlex Plus
ThermoFlex Plus offers excellent stretch and recovery, making it ideal for athletic wear and garments that need flexibility.
-
Cutting performance: Requires proper pressure settings
-
Weeding ease: Medium difficulty due to thickness
-
Application: 320°F for 15 seconds with medium-firm pressure
-
Durability: High resistance to stretching and washing
-
Best for: Performance fabrics, uniforms, and items that stretch
Stahls Cad Cut
This professional-grade vinyl is often used in commercial settings but works well with Cricut machines for home users seeking premium results.
-
Cutting performance: Handles detailed cuts with proper settings
-
Weeding ease: Medium difficulty, improves with practice
-
Application: 280-300°F for 10 seconds with medium pressure
-
Durability: Commercial-grade wash resistance
-
Best for: Professional projects, team uniforms, and bulk production
KIMS Direct Premium Vinyl
KIMS Direct offers vinyl formulations engineered for precision cutting and easy weeding, saving time on intricate designs.
-
Cutting performance: Superior precision for detailed work
-
Weeding ease: Low difficulty even with small details
-
Application: 285-305°F for 8-12 seconds with medium pressure
-
Durability: Extended lifespan through multiple wash cycles
-
Best for: Detailed logos, small text, and specialty finishes
Which HTV is Best for T-shirts and Cotton Fabrics
Cotton and cotton-blend fabrics are common choices for HTV projects. The best heat transfer vinyl for t-shirts depends on the specific fabric composition and the design complexity.
For 100% cotton shirts, standard PU-based HTV works well. These materials typically apply at temperatures between 285-320°F for 10-15 seconds. Cotton absorbs heat evenly, creating a strong bond with the vinyl.
Cotton-polyester blends require careful temperature control to prevent scorching. The polyester content can melt or shrink if exposed to excessive heat. For these fabrics, consider:
-
Lower temperature settings (285-305°F)
-
Shorter press times (10-12 seconds)
-
Medium pressure to avoid crushing the fabric blend
The best vinyl options for cotton and cotton-blend t-shirts include:
-
Siser EasyWeed for its thin profile and soft hand feel
-
Cricut Everyday Iron-On for reliable results on standard cotton shirts
-
ThermoFlex Plus for shirts that stretch or receive heavy wear
For stretchy fabrics like cotton-spandex blends, choose HTV with built-in elasticity. Standard vinyl may crack or peel when the fabric stretches. Specialty stretch vinyl maintains its bond during movement, making it ideal for athletic wear or fitted garments.
How to Cut, Weed, and Press HTV on Cricut
Working with heat transfer vinyl on your Cricut involves three main steps: cutting, weeding, and pressing. Each step requires attention to detail for professional results.
1. Setting Up the Cut
Before cutting HTV, you need to prepare both your design and machine properly:
-
Place vinyl on mat with the shiny carrier sheet facing down
-
Mirror your design in Cricut Design Space (this is essential for HTV)
-
Select the appropriate material setting (Everyday Iron-On, Glitter Iron-On, etc.)
-
Perform a small test cut to check blade depth and pressure
The mirror function flips your design horizontally because HTV is applied face-down. Forgetting this step results in backward text and images on your finished project.
2. Weeding Techniques
Weeding removes the excess vinyl from around your design. This process requires patience, especially for intricate details.
-
Start from one corner and slowly peel away large areas of excess vinyl
-
Use a weeding tool to remove small pieces inside letters or designs
-
Work in good lighting to see cut lines clearly
-
For complex designs, weed small sections at a time to avoid mistakes
A bright light source or weeding box helps make cut lines more visible. For very detailed designs, weeding from the inside out prevents accidentally removing parts of your design.
3. Proper Heat Pressing
The final step transfers your design to the fabric using heat and pressure:
-
Preheat your fabric for 3-5 seconds to remove moisture
-
Position your weeded design with the carrier sheet facing up
-
Apply heat according to vinyl manufacturer's temperature and time guidelines
-
Use firm, even pressure across the entire design
-
Allow the design to cool before peeling the carrier sheet (unless instructions specify hot peel)
A heat press provides more consistent results than an iron because it delivers even heat and pressure. If using an iron, avoid the steam setting and press firmly from the center outward.
Layering Tips with the Best HTV Vinyl
Creating multi-colored designs often requires layering different vinyl pieces. This technique adds visual interest but requires careful planning and execution.
When layering HTV, consider the order of colors and vinyl types. Some materials work better as base layers, while others perform best on top. Generally:
-
Start with the largest design elements as your base layer
-
Add smaller details in subsequent layers
-
Place specialty finishes like glitter or metallic as the top layer
For successful layering:
-
Reduce pressing time: Press each layer for only 2-3 seconds until the final layer
-
Lower temperature: Use the lowest recommended temperature that works for all vinyl types
-
Allow cooling: Let each layer cool slightly before adding the next
-
Use protective sheets: Place a Teflon sheet or parchment paper between the heat source and vinyl
Certain vinyl combinations work better than others. Standard PU vinyl makes an excellent base layer, while glitter or specialty finishes often work better as top layers because they can be more difficult to press over.
Avoid layering too many pieces in one area, as excessive thickness can create an uncomfortable stiff spot on your garment. Three to four layers is typically the maximum recommended for comfortable wearability.
Exploring Specialty Finishes for Higher Profits
Specialty heat transfer vinyl offers unique effects that can transform basic designs into premium products. These materials often command higher prices, making them valuable for custom apparel businesses.
Reflective and Glow
Reflective HTV contains tiny glass beads that shine when light hits them, making designs visible in low light. Glow-in-the-dark vinyl absorbs light and emits a soft glow in darkness.
-
Applications: Safety wear, running gear, Halloween costumes
-
Cutting tips: Use slower speed and test cuts to ensure clean edges
-
Pressing: 300-310°F for 10-15 seconds, cold peel
These materials add functional value to garments, justifying premium pricing for safety-conscious customers.
Glitter and Metallic
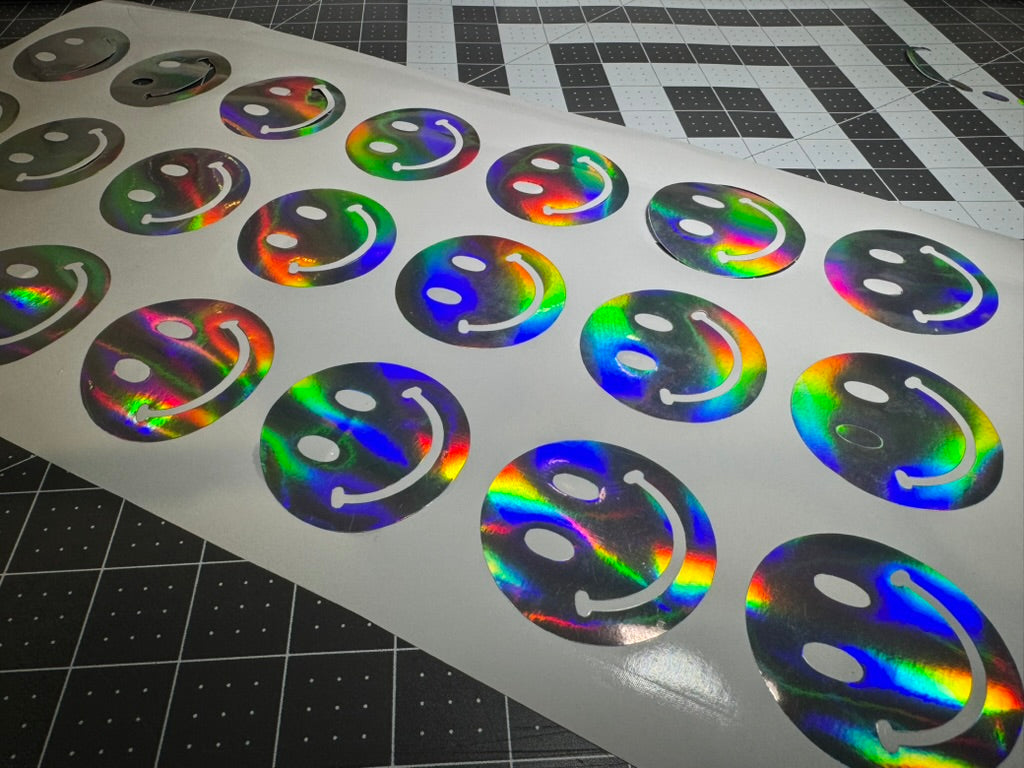
Glitter HTV contains embedded sparkle particles, while metallic vinyl creates a shiny, foil-like finish. Both add visual impact to designs.
-
Applications: Team apparel, fashion items, holiday merchandise
-
Cutting tips: Use a sharp blade and higher pressure setting
-
Pressing: 320-340°F for 15-20 seconds, cold peel
These eye-catching finishes transform basic designs into statement pieces that attract attention and command higher prices.
3D Puff and Textured Vinyl
3D Puff vinyl expands when heated, creating a raised effect. Textured vinyl includes finishes like flock (velvet-like) or patterns that add tactile interest.
-
Applications: Sports jerseys, branded apparel, promotional items
-
Cutting tips: Simple designs work best; avoid tiny details
-
Pressing: 285-300°F for 8-10 seconds, cold peel
These specialty materials create a premium feel that customers can literally touch, enhancing perceived value and allowing for higher pricing.
Elevate Your Cricut Projects with Premium HTV
The quality of heat transfer vinyl significantly impacts your Cricut projects' professional appearance and durability. Premium HTV cuts more precisely, weeds more easily, and lasts longer after application.
For detailed designs, thin vinyl with good stretch properties produces the crispest lines and smoothest application. Materials engineered specifically for cutting machines maintain their integrity during the cutting process, reducing frustration and waste.
Different projects benefit from specific vinyl types. T-shirts and everyday wear often work best with standard PU vinyl, while athletic wear requires stretch formulations. Specialty items like bags or hats may need more durable options with stronger adhesives.
Experimenting with various vinyl brands helps you discover which works best for your specific Cricut model and project types. Many crafters keep several varieties on hand to address different needs as they arise.
KIMS Direct offers high-quality heat transfer vinyl options engineered for precision cutting and durability at https://kimsdirect.com/collections/all.
FAQs about Heat Transfer Vinyl for Cricut
What temperature should I set my Cricut EasyPress for HTV?
Most standard HTV applies between 285-320°F, with specialty vinyls sometimes requiring different temperatures according to manufacturer guidelines.
How long does heat transfer vinyl last on shirts?
Quality HTV properly applied can last 40-50 wash cycles when garments are turned inside-out and washed in cold water.
Can I use any heat transfer vinyl with Cricut machines?
Most HTV brands work with Cricut machines when proper cut settings are used, though some may require adjustments to pressure or speed.
Which heat transfer vinyl is best for stretchy fabrics?
Stretch-specific HTV formulations like Siser EasyWeed Stretch or ThermoFlex Plus work best on athletic wear or stretchy garments.
How do I prevent my HTV designs from peeling after washing?
Proper heat application according to manufacturer guidelines, allowing 24 hours before washing, and washing garments inside-out helps prevent peeling.
Where can I buy wholesale heat transfer vinyl for my business?
Wholesale HTV is available from specialty suppliers, manufacturer websites, and distributors that offer bulk pricing and consistent quality.


