Heat Transfer Vinyl And Iron On Basics: What You Need To Know In 2025
Heat transfer vinyl and iron-on materials are widely used in custom apparel, crafting, and promotional product decoration. They allow for the transfer of designs onto fabric using heat and pressure. These materials are commonly found in small businesses, hobbyist workshops, and large-scale production environments.
Although the terms "heat transfer vinyl" and "iron-on" are often used interchangeably, they refer to the same basic material. Their main function is to apply images, text, or graphics to fabric surfaces using controlled heat.
What Are Heat Transfer Vinyl And Iron-On Materials?
Heat transfer vinyl (HTV), also known as iron-on vinyl, is a specialized material designed for applying designs to fabrics and other compatible surfaces using heat. It has an adhesive backing that activates under heat and bonds to the surface permanently.
HTV consists of two main layers:
-
A decorative vinyl layer (the colored or patterned surface)
-
A heat-activated adhesive layer (bonds to the fabric)
Each piece of HTV comes attached to a carrier sheet - a clear plastic layer that holds all parts of the design in place during cutting and application.
Common uses for heat transfer vinyl include:
-
T-shirts and hoodies
-
Tote bags and backpacks
-
Hats and caps
-
Aprons and uniforms
What makes HTV different from regular adhesive vinyl is that it requires heat to activate its adhesive properties, while regular vinyl sticks on contact with surfaces.
Are They The Same Thing?
Yes, heat transfer vinyl and iron-on vinyl are the same material. Both terms describe a type of vinyl with heat-activated adhesive that bonds to fabric when heat and pressure are applied.
The different terminology comes from marketing and audience familiarity. "Iron-on" is more common in craft communities and among hobbyists, especially those using household irons. "Heat transfer vinyl" or "HTV" is typically used in commercial settings where heat presses are standard equipment.
This table shows the key similarities:
|
Aspect |
Heat Transfer Vinyl |
Iron-On Vinyl |
|---|---|---|
|
Application Method |
Heat and pressure |
Heat and pressure |
|
Materials Used |
Vinyl with adhesive backing |
Vinyl with adhesive backing |
|
Common Term Used By |
Professional shops |
Craft communities |
|
Typical Projects |
Commercial and DIY |
Primarily DIY |
There are no significant technical differences between products labeled as HTV or iron-on vinyl. The choice between terms often depends on who you're talking to rather than what you're talking about.
Essential Tools And Supplies For HTV Projects
To work with heat transfer vinyl effectively, you'll need a few basic tools:
1. Cutting Machine And Blades
A vinyl cutting machine like a Cricut or Silhouette cuts your designs precisely. These machines use small blades that can be adjusted for different vinyl thicknesses.
While scissors can work for very simple shapes, a cutting machine is essential for detailed designs, letters, or intricate patterns. Most machines connect to design software on your computer or tablet.
2. Weeding Tools
After cutting, you'll need to remove the excess vinyl that isn't part of your design. This process is called "weeding."
Weeding tools include small hooks, tweezers, and picks that help lift and remove tiny pieces of vinyl. Good lighting is important during weeding to see all the cut lines clearly, especially for detailed designs.
3. Heat Source
You can use a regular iron for heat transfer vinyl projects. Many beginners start with household irons before investing in specialized equipment. When using an iron, you'll need to apply firm, even pressure and avoid using the steam function.
Heat presses provide more consistent results because they deliver even heat and pressure across the entire design. They're available in various sizes and styles, from small handheld presses to large professional models.
4. Protective Sheets
Teflon sheets or parchment paper protect both your design and heat source during application. These sheets prevent the vinyl from sticking to your iron or heat press and help distribute heat evenly.
If you don't have a commercial protective sheet, parchment paper from the kitchen can work as a temporary alternative, though it's less durable.
Types Of Vinyl And Specialty Finishes
Heat transfer vinyl comes in several varieties, each with unique properties and visual effects:
1. Standard PU Vinyl
Polyurethane (PU) vinyl is the most common type for beginners. It's thin, flexible, and works well on most fabrics. Standard PU vinyl:
-
Has a matte or semi-gloss finish
-
Stretches slightly with the fabric
-
Cuts and weeds easily
-
Works well for text and basic designs
This vinyl is available in countless colors and is often the most affordable option.
2. Glitter And Metallic Options
For added sparkle and shine, glitter and metallic vinyls create eye-catching effects:
-
Glitter vinyl contains embedded sparkle particles
-
Metallic vinyl has a smooth, reflective surface
Both types are slightly thicker than standard vinyl, which can make them more challenging to cut and weed. They may require adjustments to cutting settings and more careful weeding around small details.
3. 3D Puff And Reflective
Specialty vinyls create unique visual and textural effects:
-
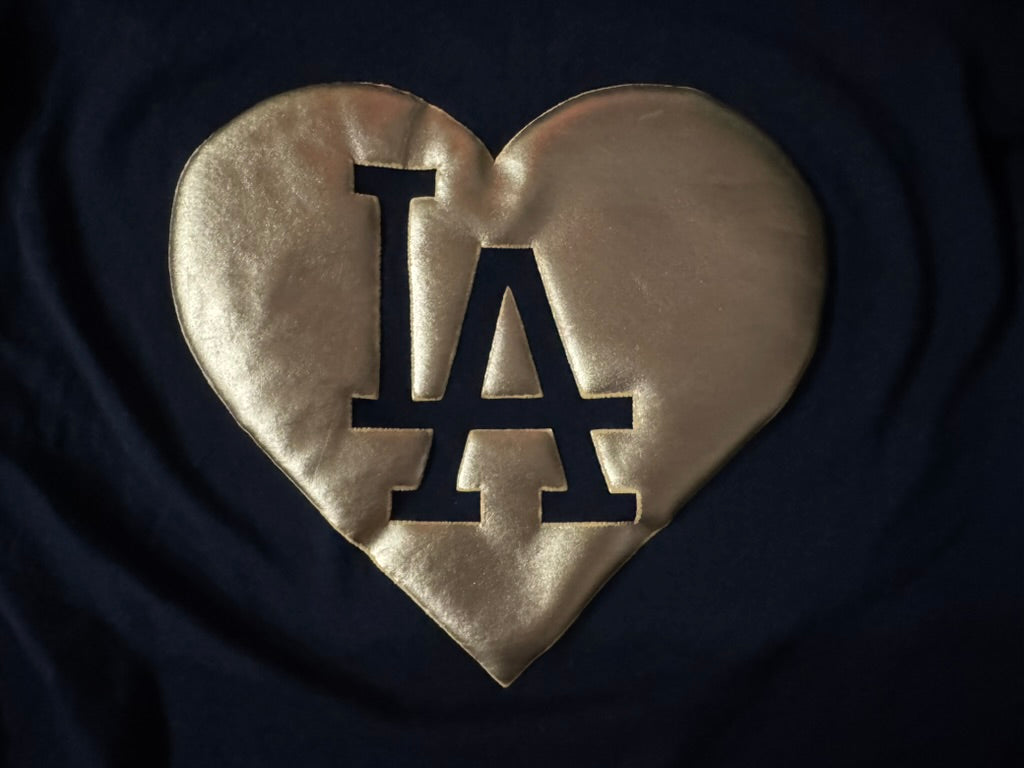
3D Puff vinyl expands when heated, creating raised designs
-
Reflective vinyl contains tiny glass beads that reflect light, making it visible in darkness
These specialty materials often require specific temperature settings and application techniques. They're perfect for adding dimension or safety features to garments.
4. Color-Changing Effects
Interactive vinyls change appearance based on environmental factors:
-
Heat-sensitive vinyl changes color with temperature changes
-
UV-reactive vinyl changes color when exposed to sunlight
These novel effects make for conversation-starting designs on t-shirts, mugs, and accessories. They're particularly popular for children's items and promotional products.
How To Apply Vinyl With A Regular Iron Or Heat Press
Applying heat transfer vinyl involves several key steps:
1. Preparing The Design
Before cutting, mirror your design in your cutting software. Mirroring flips the design horizontally, which is necessary because HTV is applied face-down.
Place the vinyl on your cutting mat with the shiny carrier sheet facing down. The vinyl should be positioned with the colored side facing up. This ensures the machine cuts only through the vinyl layer while leaving the carrier sheet intact.
2. Weeding The Excess
After cutting, remove all vinyl that isn't part of your design:
-
Start in one corner and carefully peel away the excess
-
Use weeding tools for small details and letter interiors
-
Work in good lighting to see all cut lines clearly
Take your time with this step—rushed weeding often leads to damaged designs or missing elements.
3. Pressing Temperature And Time
Different fabrics and vinyl types require specific heat settings:
|
Fabric Type |
Temperature |
Time (Seconds) |
|---|---|---|
|
Cotton |
305-315°F |
10-15 |
|
Polyester |
270-280°F |
10-15 |
|
Cotton/Poly Blend |
300°F |
10-15 |
|
Nylon |
270°F |
15-20 |
When using a regular iron:
-
Set to the temperature recommended for your fabric (usually cotton/linen setting)
-
Turn off the steam function
-
Press firmly for 10-15 seconds over each section of the design
-
Use a hard surface, not an ironing board
With a heat press:
-
Set the exact temperature and time
-
Position your design and press with medium-firm pressure
-
Follow the machine's instructions for opening and closing
4. Peeling The Carrier Sheet
After applying heat, you'll need to remove the carrier sheet:
-
Hot peel vinyls allow immediate removal while still warm
-
Cold peel vinyls require cooling completely before removing the carrier
Check the instructions for your specific vinyl to determine whether it's hot or cold peel. If you peel at the wrong time, the vinyl might not adhere properly or could stretch and distort.
Best Iron For Vinyl Projects
When using a household iron for HTV projects, certain features make the process easier:
1. Factors To Consider
Steam holes:
Fewer steam holes provide more even heat distribution. Many steam holes can leave parts of your design unpressed.
Temperature control:
Accurate temperature settings help match the heat to your specific vinyl type. Digital temperature controls offer more precision than dial controls.
Weight and size:
A heavier iron applies more pressure without extra effort. The size of the iron's base determines how much area you can press at once.
Base plate material:
Stainless steel and ceramic distribute heat more evenly than aluminum. Non-stick coatings prevent vinyl from sticking to the iron if accidentally touched.
Good iron options for HTV projects include models with:
-
Flat bottoms with minimal steam holes
-
Precise temperature controls
-
Medium to heavy weight
-
Stainless steel or ceramic plates
Common Mistakes And Troubleshooting Tips
Even experienced crafters encounter issues with heat transfer vinyl. Here are solutions to common problems:
1. Peeling Or Cracking
If your design peels up at the edges or cracks after washing, the cause is usually inadequate heat, pressure, or time during application.
To fix peeling edges:
-
Reapply heat with a protective sheet over the design
-
Increase pressure slightly
-
Ensure the entire design receives even heat
To prevent cracking:
-
Follow care instructions for washing (usually inside-out, gentle cycle)
-
Avoid high heat in dryers
-
Allow newly pressed items to cure for 24 hours before washing
2. Wrinkling Or Shrinking
Wrinkling often occurs when the fabric shrinks but the vinyl doesn't, or when too much heat is applied.
To prevent this issue:
-
Pre-wash fabrics before applying vinyl
-
Use the correct temperature for your fabric type
-
Don't press longer than recommended
-
Allow cooling between multiple pressings
3. Incomplete Adhesion
When parts of your design don't stick properly, it's usually due to uneven pressure or insufficient heat.
For better adhesion:
-
Use a hard, flat surface under your project
-
Apply firm, even pressure across the entire design
-
Press in sections for larger designs
-
Check that your heat source maintains consistent temperature
How Long Does HTV Last On Fabric?
With proper application and care, heat transfer vinyl can last for years. Quality vinyl typically remains intact through 50+ washes when properly applied and cared for.
Factors affecting durability include:
-
Vinyl quality (premium vinyls last longer)
-
Fabric type (cotton and poly-cotton blends hold vinyl best)
-
Washing methods (cold water, gentle cycle, inside-out)
-
Drying techniques (air drying extends vinyl life)
To maximize the lifespan of your HTV projects:
-
Wait 24 hours after application before washing
-
Wash in cold water on gentle cycle
-
Turn garments inside-out when washing
-
Avoid bleach and fabric softeners
-
Air dry or use low heat settings in dryers
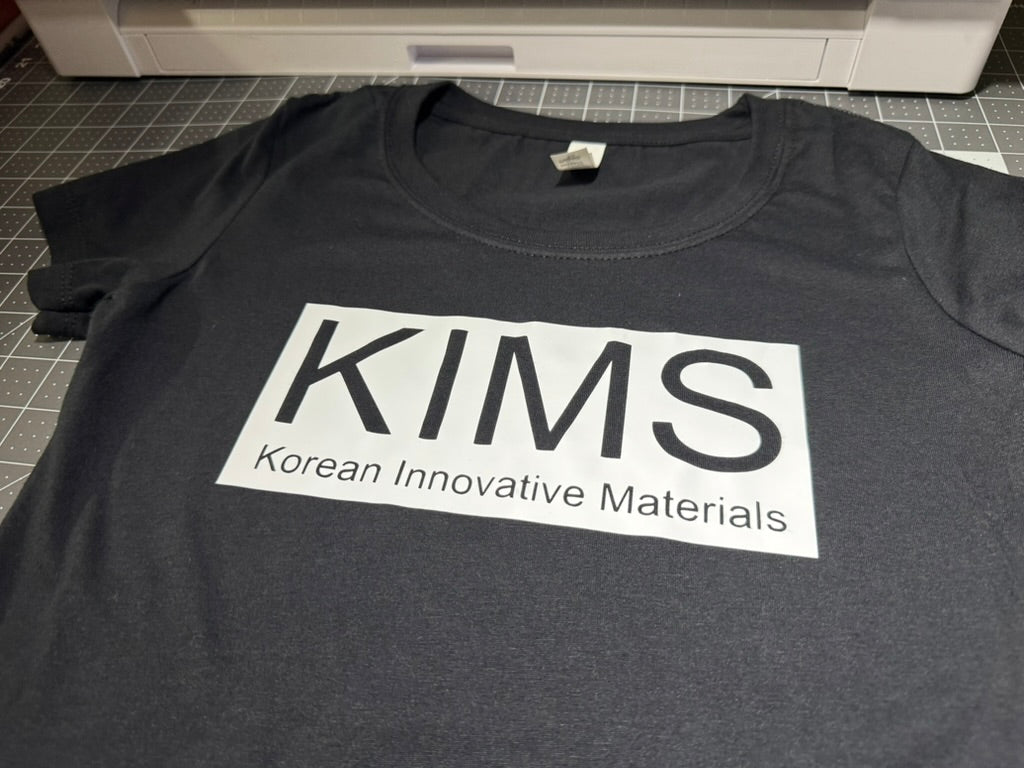
High-quality vinyl like those from KIMS Direct are formulated to withstand commercial washing conditions while maintaining vibrant colors and strong adhesion.
Build Your Creative Future With Reliable Materials
Quality materials make a significant difference in heat transfer vinyl projects. Professional-grade vinyls cut more cleanly, weed more easily, and last longer after application.
Today's market offers premium materials that were once only available to commercial printers. These materials feature:
-
Consistent thickness for reliable cutting
-
Strong carrier sheets that hold intricate details
-
Formulations that work across various fabric types
-
Enhanced durability through multiple wash cycles
Starting with good materials saves time and reduces frustration, especially for detailed designs or projects that need to withstand frequent use.
KIMS Direct offers premium vinyl collections engineered for both beginners and professionals, available at https://kimsdirect.com/collections/all.
FAQs About Heat Transfer Vinyl Or Iron-On Materials
How do eco-friendly vinyls compare in durability?
Eco-friendly vinyls typically offer comparable durability to standard formulations while using water-based adhesives and more sustainable production methods, though they may require slightly different application techniques for optimal results.
Where can I find specialty finishes in bulk?
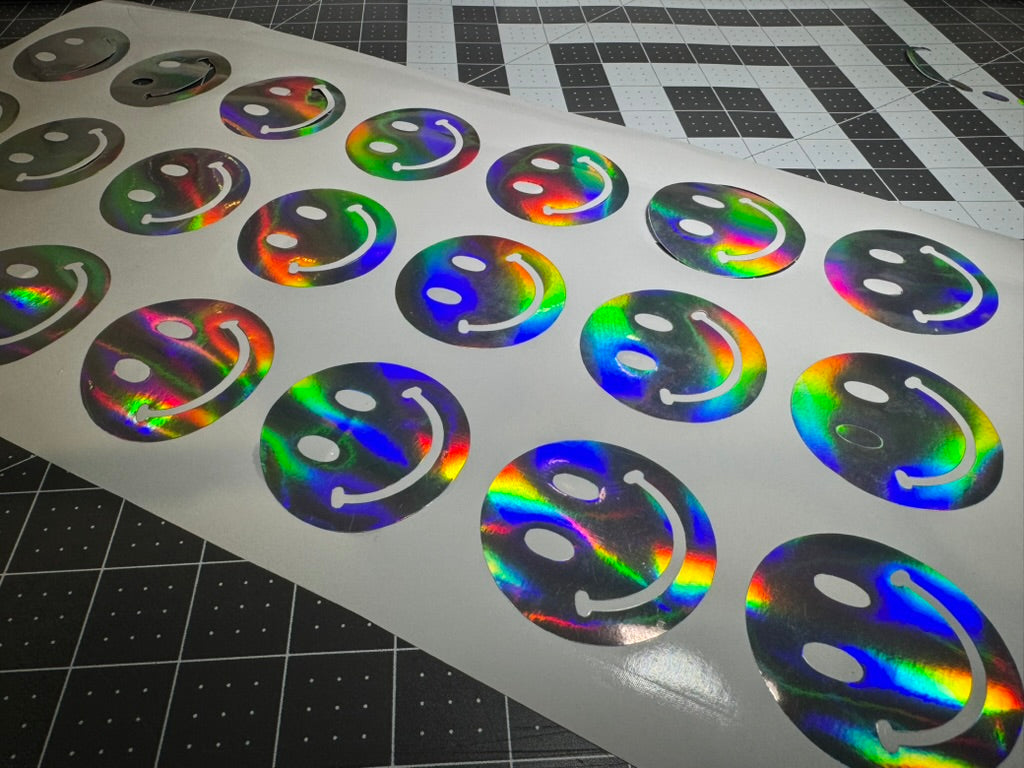
Professional suppliers like KIMS Direct offer specialty finishes including reflective, holographic, and 3D puff vinyl in bulk quantities with consistent quality, making them ideal for business needs or larger projects requiring uniform materials.


