Decorating apparel using both heat transfer vinyl (HTV) and embroidery is known as hybrid decoration. This method combines two different techniques to create one finished design.
Heat transfer vinyl uses heat and pressure to apply cut vinyl shapes onto fabric. Embroidery uses thread stitched directly into the garment using a machine. Each method has its own strengths.
When used together, these techniques can produce designs that look different from what either method can do on its own. Hybrid decoration is often used in custom apparel, promotional products, and retail fashion.
Why Combine HTV And Embroidery
Combining HTV and embroidery reduces the total amount of stitching required. Vinyl can cover large areas of a design, which shortens production time on embroidery machines.
The difference in texture between vinyl and thread creates a layered look. The flat, smooth surface of HTV contrasts with the raised, stitched surface of embroidery.
Using less thread and fewer stitches can lower material and labor costs. This is especially helpful for large or repeat designs.
![Image: Example of a design combining smooth vinyl background with raised embroidery details]
Hybrid decoration allows for effects not possible with only vinyl or embroidery. Designers can mix matte, gloss, or specialty vinyl with different thread colors and stitches to create unique visuals.
|
Feature |
Full Embroidery |
HTV + Embroidery Combination |
|---|---|---|
|
Production Time |
High |
Low-Medium |
|
Material Cost |
High |
Medium |
|
Visual Texture |
Thread Only |
Thread + Vinyl |
|
Design Flexibility |
Moderate |
High |
What Is Heat Transfer Vinyl And How It Works With Embroidery
Heat Transfer Vinyl (HTV) is a thin, flexible material with a heat-activated adhesive backing. When heated with a press or iron, this adhesive bonds to fabric. HTV comes in various colors and finishes, and is cut into shapes using a vinyl cutter before application.
Embroidery is the process of adding decorative stitching to fabric using thread and a needle. Modern embroidery is typically done with computerized machines that follow digital design files to create precise patterns.
When combining these techniques, the vinyl provides solid areas of color or special effects, while embroidery adds dimension and detail. The result is a multi-textured design with both flat and raised elements.
Different types of HTV work well for embroidery integration:
-
Standard HTV: Basic vinyl that's easy to cut and weed, ideal for simple designs
-
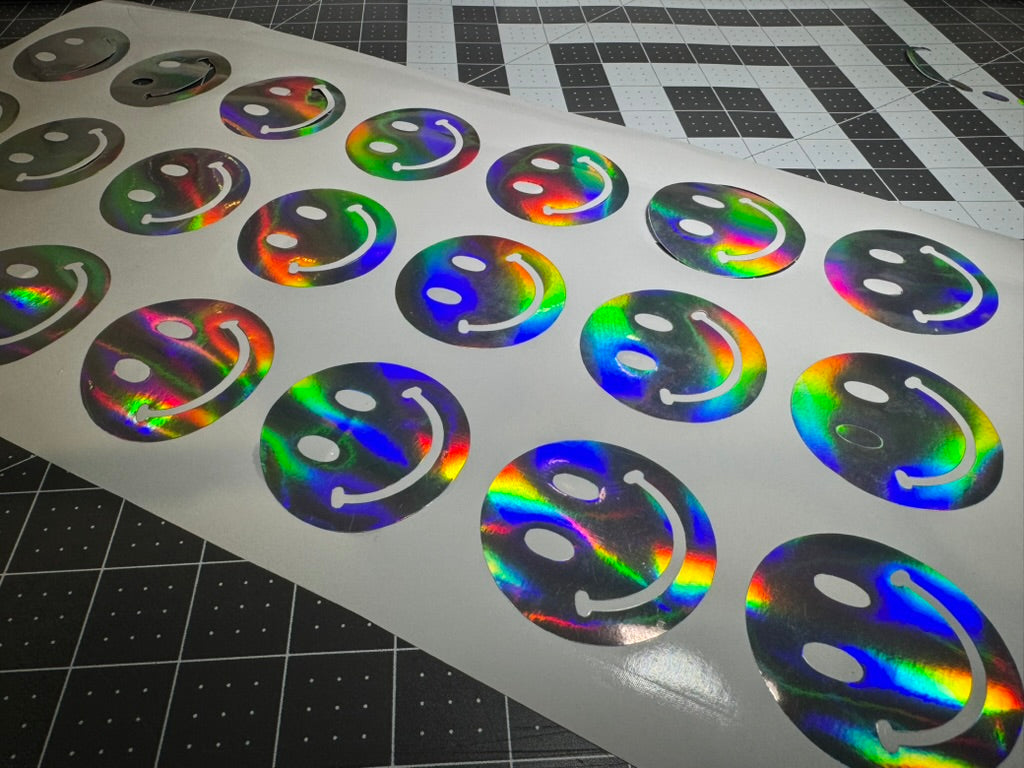
Specialty HTV: Includes glitter, metallic, reflective, and other finishes for unique effects
-
Embroidery-specific HTV: Designed to withstand needle penetration without tearing
Essential Tools And Materials For Hybrid Decoration
1. Stabilizer Choices
Stabilizers support fabric during embroidery and come in several types:
-
Cut-away stabilizer: Remains permanently on the back of stretchy fabrics for long-term support
-
Tear-away stabilizer: Easily removed after stitching, best for stable woven fabrics
-
Water-soluble stabilizer: Dissolves completely, ideal for delicate items
The right stabilizer depends on your fabric weight and stretch. Heavier fabrics typically need lighter stabilizer, while lighter fabrics need more support. Always test your stabilizer with your vinyl to ensure compatibility.
2. Vinyl Cutting Tools
To prepare vinyl for your hybrid project, you'll need:
-
A vinyl cutting machine (like Cricut, Silhouette, or Brother ScanNCut)
-
Properly adjusted blade settings based on vinyl thickness
-
Weeding tools for removing excess vinyl from intricate designs
The right blade depth and pressure settings are essential for clean cuts that are easy to weed without damaging the vinyl.
3. Embroidery Software And Hoop Accessories
Successful hybrid projects require:
-
Digitizing software to create placement stitches for vinyl positioning
-
Appropriate hoop size for your project dimensions
-
Alignment tools like templates or grids for accurate vinyl placement
Good digitizing software lets you program stops at key points, allowing you to add vinyl during the embroidery process.
Step-By-Step Process To Integrate HTV With Machine Embroidery
1. Finalize Your Design
Begin by deciding which parts of your design will use vinyl and which will be embroidered. Create placement stitches in your embroidery software to mark where vinyl will go.
For best results:
-
Avoid dense stitching directly on vinyl
-
Keep vinyl and embroidery areas clearly defined
-
Use vinyl for large background areas and embroidery for details
2. Prepare And Hoop The Fabric
Select an appropriate stabilizer for your fabric type. Hoop both the fabric and stabilizer tightly, ensuring there are no wrinkles or slack in the material.
Pre-treating fabric (washing, ironing) helps prevent shrinking or wrinkling after decoration is complete.
3. Stitch The Placement Outline
Run your embroidery machine to stitch a simple outline showing where the vinyl will be placed. This outline should use:
-
A thread color that contrasts with your fabric for visibility
-
A basic running stitch (2.5-3mm length)
-
Light tension to prevent fabric puckering
This outline serves as a guide for vinyl placement in the next step.
4. Position And Tack Down The Vinyl
Cut your HTV slightly larger than the stitched outline. Remove the carrier sheet and place the vinyl adhesive-side down within the outline area.
Resume embroidery to stitch a tack-down line that will:
-
Secure the vinyl to the fabric
-
Create a clean edge for trimming
-
Establish the final shape of the vinyl element
5. Remove Excess Vinyl
Once the tack-down stitching is complete, carefully trim away excess vinyl along the stitch line using:
-
Small, sharp scissors for straight edges
-
A craft knife for tight corners
-
Weeding tools for intricate details
Work slowly and precisely to avoid shifting the vinyl or cutting into the fabric.
6. Apply Heat To Set The Vinyl
Use a heat press or iron to activate the vinyl's adhesive. Different vinyl types require specific settings:
|
Vinyl Type |
Temperature (°F) |
Time (seconds) |
Pressure |
|---|---|---|---|
|
Standard HTV |
305 |
10-15 |
Medium-Firm |
|
Glitter HTV |
320 |
15-20 |
Firm |
|
Metallic HTV |
285 |
10-15 |
Light-Medium |
Always place a Teflon sheet or parchment paper between the heat source and your design to protect both the vinyl and any stitching.
7. Complete The Embroidery
After heat setting the vinyl, continue with the remaining embroidery elements. You may need to adjust thread tension when stitching through vinyl areas.
When finished, remove the project from the hoop and trim away excess stabilizer according to the type used (tear, cut, or wash away).
Troubleshooting Common Challenges
1. Fixing Vinyl Lifting Issues
If vinyl edges lift after application, the cause may be incorrect temperature, insufficient pressure, or low-quality vinyl.
To fix lifting edges:
-
Re-press using the correct temperature and pressure
-
Use a pressing pillow for even pressure distribution
-
Apply a small amount of fabric glue under stubborn edges
Prevent this issue by testing your heat press settings on a sample piece before starting your project.
2. Avoiding Thread Breaks On Vinyl
Thread breaking when stitching over vinyl is frustrating but fixable. Common causes include needle size, thread tension, or vinyl thickness.
Solutions include:
-
Needle adjustment: Use a sharp 75/11 or 80/12 embroidery needle
-
Tension reduction: Lower thread tension when stitching through vinyl
-
Vinyl selection: Choose thinner HTV for designs with heavy stitching
Testing your stitch settings on scrap vinyl before starting your main project saves time and materials.
3. Managing Heat Application Mistakes
Heat application problems can affect both the vinyl and embroidery:
-
Overheated vinyl may scorch or melt. Let it cool completely, then carefully peel and replace if damaged.
-
Underheated vinyl won't adhere properly. Simply re-press with correct settings.
-
Shifting vinyl can be prevented by using heat-resistant tape to hold pieces in place during pressing.
Creative Ideas For Hybrid HTV And Embroidery
1. Reflective And Metallic Finishes
Reflective vinyl combined with embroidery creates eye-catching designs that shine in low light. This combination works well for:
-
Safety apparel with high visibility features
-
Athletic wear with nighttime visibility
-
Logos that stand out in different lighting conditions
Metallic vinyl provides a shimmering background that makes embroidered elements pop. Try matching metallic thread with metallic vinyl for a cohesive luxury look.
2. Mixed Media Patches And Lettering
Create removable patches using vinyl as the base and embroidery for details. These can be attached to various items with temporary or permanent adhesives.
For unique lettering effects:
-
Use vinyl for large letter shapes
-
Add embroidered outlines or shadows
-
Layer different vinyl types with embroidery for depth
This technique creates dimensional text that stands out on uniforms, jackets, and promotional items.
3. Dimensional Textures With Puff Vinyl
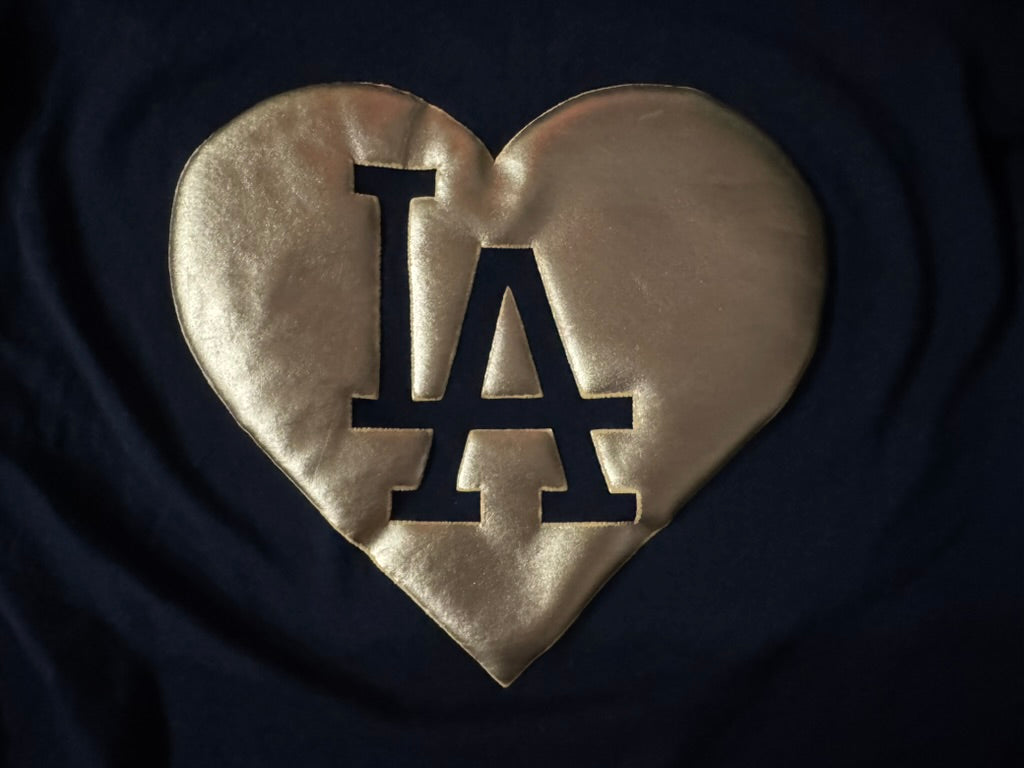
Puff vinyl expands when heated, creating a raised surface perfect for adding tactile elements to designs. When combined with embroidery, it creates a truly three-dimensional effect.
Try these combinations:
-
Embroidered outlines around puff vinyl shapes
-
Satin stitches over puff vinyl for textural contrast
-
Puff vinyl backgrounds with embroidered details on top
Elevate Your Designs With Faster Production And Specialty Finishes
Hybrid decoration techniques significantly reduce machine run time and thread usage compared to full embroidery. This efficiency allows you to complete more projects in less time.
Specialty vinyl finishes achieve effects that aren't possible with embroidery alone, such as metallic shine or reflective safety features. These materials add visual interest while maintaining durability.
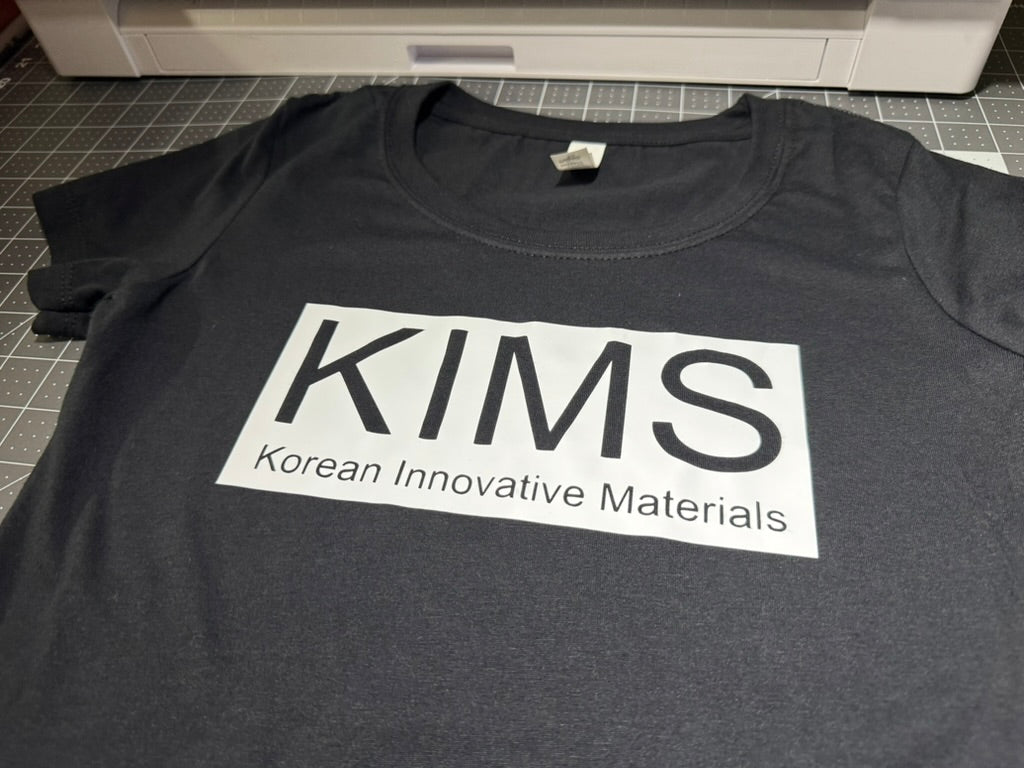
Premium vinyl products, like those from KIMS Direct, are engineered specifically for hybrid decoration. They offer superior cutting precision and needle penetration resistance, making the combination process smoother and more reliable.
Grow Your Business With Hybrid Apparel Decoration
Hybrid decoration can increase profit margins by reducing production time and material costs. The efficient combination of techniques allows for faster turnaround on orders.
The unique texture and finish combinations possible with hybrid decoration help products stand out in a competitive market. Customers are drawn to items that offer something different from standard decoration methods.
The premium look of well-executed hybrid designs justifies higher pricing. Customers recognize the added value of multi-technique decoration and are willing to pay more for these distinctive items.
Explore KIMS Direct's professional-grade heat transfer vinyl collection, specifically formulated for seamless integration with embroidery techniques at https://kimsdirect.com/collections/all
FAQs About Integrating Heat Transfer Vinyl With Embroidery
Which should be applied first, embroidery or heat transfer vinyl?
In most hybrid decoration projects, you'll stitch a placement outline first, apply the vinyl, secure it with tack-down stitches, then complete the remaining embroidery elements.
What type of heat transfer vinyl works best with embroidery?
Thinner, more flexible HTV varieties (like premium polyurethane-based vinyl) typically work best as they allow easier needle penetration and create less bulk in the finished design.
Can any embroidery machine be used with heat transfer vinyl?
Most commercial and home embroidery machines can handle vinyl applications, but machines with programmable stop points make the process significantly easier.
How durable are designs that combine vinyl and embroidery?
When properly applied using quality materials, hybrid designs can withstand 50+ wash cycles while maintaining vibrant colors and secure adhesion.
What fabrics work best for combined vinyl and embroidery decoration?
Medium-weight, stable fabrics like cotton, polyester blends, and twill provide the best foundation for hybrid decoration.


