Introduction
Layering heat transfer vinyl (HTV) allows crafters to create multi-color designs that stand out on custom apparel, personalized gifts, and branded merchandise. This technique involves applying multiple pieces of vinyl, each in different colors or finishes, to achieve detailed and professional-looking results. While the process requires some practice, understanding the proper techniques makes layering HTV accessible even for beginners.
Whether you're making team jerseys, custom t-shirts, or promotional items, mastering the art of layering heat transfer vinyl opens up new creative possibilities. This guide covers everything you need to know about selecting compatible materials, preparing your design, and troubleshooting common issues when working with layered HTV projects.
Why Layer Heat Transfer Vinyl For Multi Color Designs
Creating multi-color designs with heat transfer vinyl transforms ordinary garments into eye-catching custom pieces. Instead of being limited to single-color graphics, layering allows you to incorporate multiple colors and textures in one cohesive design.
Professional-looking results come from properly aligned layers that create dimension and visual interest. When done correctly, layered HTV designs appear seamless, with each color fitting precisely where it belongs in the overall image.
Layered HTV works particularly well for:
-
Team uniforms with multiple team colors
-
Company logos with specific brand colors
-
Decorative t-shirts with complex graphics
-
Custom gifts with personalized designs
In competitive markets, the ability to create detailed, multi-color heat transfer vinyl designs gives crafters and small businesses an edge. Customers often prefer items with more visual complexity and color options.
![Image placeholder: Example of a multi-color layered HTV design showing different colored vinyl pieces aligned to create a complete image]
What You Need To Layer HTV
Successful layering of heat transfer vinyl requires specific tools that ensure precise cutting, alignment, and application. The quality of your equipment directly affects the final result.
A heat press provides the most consistent results because it maintains even temperature and pressure across the entire design. While household irons can work for simple projects, they often create uneven pressure points that affect how well the vinyl adheres to the fabric.
Essential tools for layering HTV include:
-
Cutting machine (like Cricut or Silhouette)
-
Heat press, EasyPress, or household iron
-
Teflon sheets or parchment paper
-
Heat-resistant tape
-
Weeding tools
-
Pressing mat or folded towel
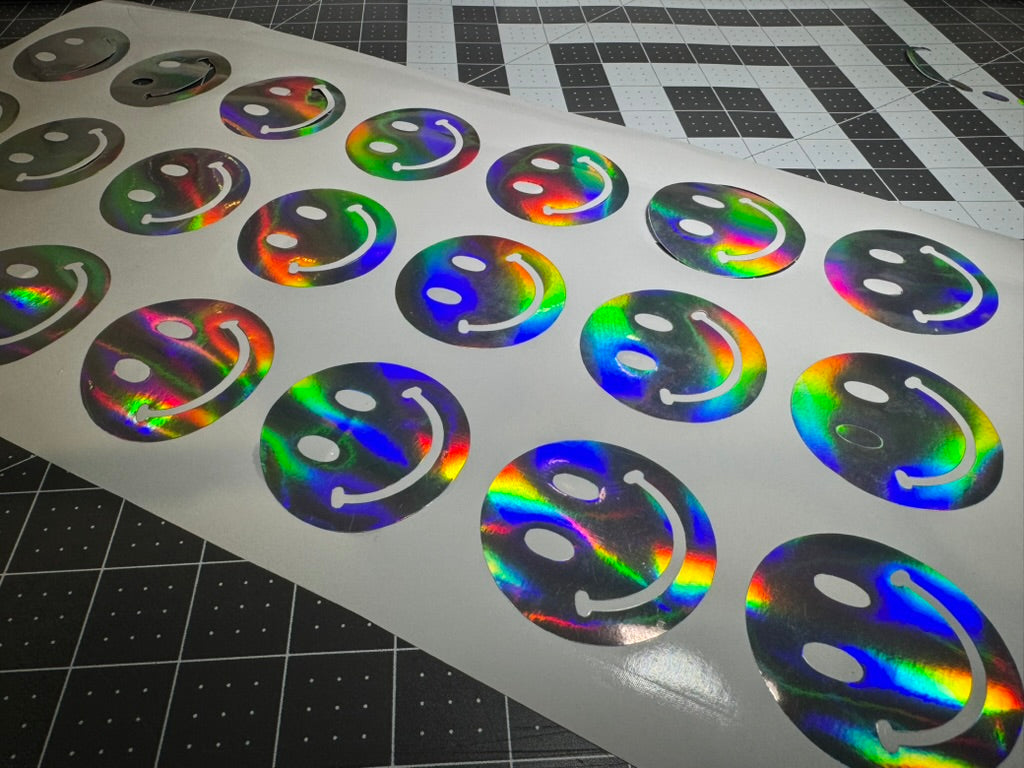
The vinyl itself matters just as much as your tools. Standard HTV (often called everyday iron-on vinyl) works well for layering, as does stretch HTV for athletic wear. Specialty vinyl like glitter, holographic, or reflective requires special consideration for placement in your layered design.
|
Heat Application Tool |
Temperature Consistency |
Pressure Control |
Layering Effectiveness |
|---|---|---|---|
|
Household Iron |
Low |
Low |
Fair |
|
EasyPress |
Medium |
Medium |
Good |
|
Heat Press |
High |
High |
Excellent |
How To Prepare Artwork And Fabrics
Before cutting your first piece of vinyl, prepare both your design and the fabric for optimal results. Digital preparation ensures each layer aligns correctly when applied to the garment.
When creating multi-layer designs, consider which colors or elements will form the base and which will be applied on top. Most design software allows you to separate colors into different layers, making it easier to cut each piece individually.
Design preparation tips:
-
Create registration marks: Add small alignment points to help position each layer accurately
-
Plan overlaps carefully: Ensure each layer connects properly with adjacent colors
-
Check vinyl compatibility: Verify which vinyl types can be layered together
Fabric preparation is equally important for long-lasting results. Pre-washing removes any sizing or fabric treatments that might prevent proper adhesion. After washing, press the garment briefly to remove moisture and wrinkles.
Test your design on scrap fabric before applying it to your final project. This allows you to check that your cut settings, temperatures, and pressing times work well with your specific materials.
Layering HTV Step By Step
1. Pre-Press The Garment Briefly
Start by pre-pressing your garment for 5-10 seconds at approximately 305°F. This quick press removes moisture and flattens the fabric, creating an ideal surface for vinyl application.
Moisture trapped in fabric can turn to steam during the pressing process, causing bubbles or preventing proper adhesion. Pre-pressing eliminates this risk and helps the first layer of vinyl stick properly.
2. Tack Down The Base Layer
Position your first layer of vinyl on the garment with the carrier sheet facing up. This base layer is typically the largest piece or outline of your design.
Press for just 2-5 seconds at the recommended temperature (usually around 305°F) with medium pressure. This short "tack down" press partially activates the adhesive without fully setting it.
For the base layer, use standard or stretch HTV rather than specialty vinyl like glitter or puff. These standard types provide a smooth surface for additional layers to adhere to.
3. Align And Press Subsequent Layers
After removing the carrier sheet from your base layer, align the next piece of vinyl carefully. Use any registration marks or visual guides to ensure proper placement.
Secure each new layer with heat-resistant tape if needed to prevent shifting. Cover with a Teflon sheet or parchment paper to protect both the vinyl and your heat press.
Press each additional layer for only 2-5 seconds. Specialty vinyl like glitter may need slightly longer (8-10 seconds) but still less than a full press. Remember that each layer receives multiple exposures to heat during the layering process.
4. Apply A Final Press
Once all layers are in place, apply a final press for 10-15 seconds at the recommended temperature with medium pressure. This final press fully activates the adhesive on all layers and ensures they bond properly to the fabric.
Allow the design to cool slightly before checking the edges for proper adhesion. If any areas appear loose, you can apply additional heat to those specific sections.
![Image placeholder: Step-by-step process showing the layering of different colored vinyl pieces on a t-shirt]
Troubleshooting Common Layering Problems
1. Fixing Peeling Or Lifting
When vinyl edges start lifting after application, insufficient heat, pressure, or pressing time is usually the culprit. The adhesive needs proper activation to bond with the fabric fibers.
To fix peeling edges, place a Teflon sheet over the problem area and reapply heat and pressure for 5-10 seconds. Focus on applying even pressure across the entire design surface.
|
Problem Indicator |
Likely Cause |
Solution |
|---|---|---|
|
Peeling Edges |
Low heat/pressure |
Increase temp/pressure, re-press |
|
Lifting Corners |
Short press time |
Extend pressing time |
|
Poor Adhesion |
Moisture in fabric |
Pre-press garment |
2. Resolving Wrinkles Or Bubbles
Bubbles or wrinkles in your vinyl design often result from moisture in the fabric or uneven pressure during application. These imperfections affect both the appearance and durability of your design.
To prevent bubbles, always pre-press your garment thoroughly before applying vinyl. If bubbles appear after pressing, place a Teflon sheet over the design and press again with even pressure across the entire surface.
Using a Teflon sheet for every press helps distribute heat evenly and prevents direct contact between the heat source and vinyl, reducing the risk of wrinkles or scorching.
3. Ensuring Proper Pressure And Heat
Accurate temperature and pressure settings are crucial for successful HTV application. When layering multiple pieces of vinyl, consistent settings help prevent issues with both under-adhesion and overheating.
If you're unsure about your heat press temperature, use a heat gun or infrared thermometer to verify the actual surface temperature. Many heat presses can vary from their displayed temperature by 5-15 degrees.
For pressure adjustments, start with medium pressure and observe results. Increase pressure if the vinyl isn't adhering fully to the fabric. Decrease pressure if you notice the design appears pressed too deeply into the fabric or if the fabric shows signs of scorching.
Working With Specialty Vinyl
1. Glitter On Top
Glitter heat transfer vinyl adds sparkle and dimension to designs but requires special handling in layered projects. The textured surface of glitter vinyl makes it unsuitable as a base layer for other vinyl types.
When using glitter HTV in a layered design, always place it as the final layer. Apply at 320°F for 10-15 seconds with medium-firm pressure to ensure proper adhesion without damaging the glitter particles.
Weeding glitter vinyl requires extra care due to its thickness and texture. Work slowly with a sharp weeding tool, and use good lighting to see cut lines clearly. A Teflon sheet placed over glitter vinyl during pressing prevents the textured surface from sticking to your heat press.
2. Reflective Layer Considerations
Reflective HTV contains tiny glass beads or metallic particles that bounce light back to the viewer, making it perfect for safety gear or nighttime visibility. This specialty vinyl typically requires lower temperatures (285-305°F) and lighter pressure than standard HTV.
Place reflective vinyl as a top layer or second-to-top layer in your design. Avoid placing it under puff or glitter vinyl, as these can diminish the reflective properties.
Before incorporating reflective vinyl into an important project, test a small piece on similar fabric. This helps you determine if your specific heat press settings maintain the reflective finish while ensuring proper adhesion.
3. Puff Vinyl Placement
Puff vinyl creates a raised, dimensional effect when heat activates the expanding agents in the material. This expansion only occurs when puff vinyl is the top layer with nothing pressed on top of it.
Apply puff vinyl at 300-320°F for 10-15 seconds with medium pressure. Pressing too long or with too much pressure can flatten the puff effect, while insufficient heat won't fully activate the expansion.
When designing with puff vinyl, remember its placement limitations. Plan your layered design so that puff elements stand alone as top layers, with no other vinyl overlapping them.
Elevate Your Creations With Premium Materials
The quality of your heat transfer vinyl significantly impacts both the ease of application and the durability of your finished project. Premium vinyl cuts more precisely, weeds more easily, and adheres more reliably—all crucial factors when creating layered designs.
High-quality HTV maintains color vibrancy and adhesion through multiple wash cycles, ensuring your designs look great for longer. The initial investment in better materials typically pays off through reduced waste, fewer failed applications, and happier customers.
KIMS Direct offers heat transfer vinyl specifically formulated for consistent results in layered applications. Their materials feature precise cutting capabilities and reliable adhesion, even when multiple layers are stacked.
For crafters and small businesses looking to create professional-quality layered designs, exploring premium vinyl options can make a noticeable difference in both production efficiency and final product quality.
Frequently Asked Questions About Layering Heat Transfer Vinyl
What temperature should I use when layering different types of HTV?
Standard HTV layers typically require 305°F, while glitter and specialty vinyl may need 320°F; always check the manufacturer's guidelines for your specific vinyl type.
How long should I wait between pressing different layers of vinyl?
Allow each layer to cool for a few seconds before removing the carrier sheet and applying the next layer to prevent shifting and ensure proper adhesion.
Can I layer any type of heat transfer vinyl together?
Not all HTV types are compatible for layering; avoid placing puff or glitter vinyl under other layers, and always check the manufacturer's recommendations before combining different vinyl types.
Why is my bottom layer of vinyl shrinking after applying the top layer?
Overheating during multiple presses can cause shrinkage; use short tack presses (2-5 seconds) for each layer and save the full press time for the final application.
How many layers of heat transfer vinyl can I safely stack?
Most experts recommend a maximum of 3-4 layers to avoid excessive thickness and adhesion issues that can occur with too many layers of vinyl.
What is the best base layer vinyl for multi-color designs?
Standard or stretch HTV works best as a base layer because of its smooth surface and strong adhesive properties that provide a good foundation for additional layers.


