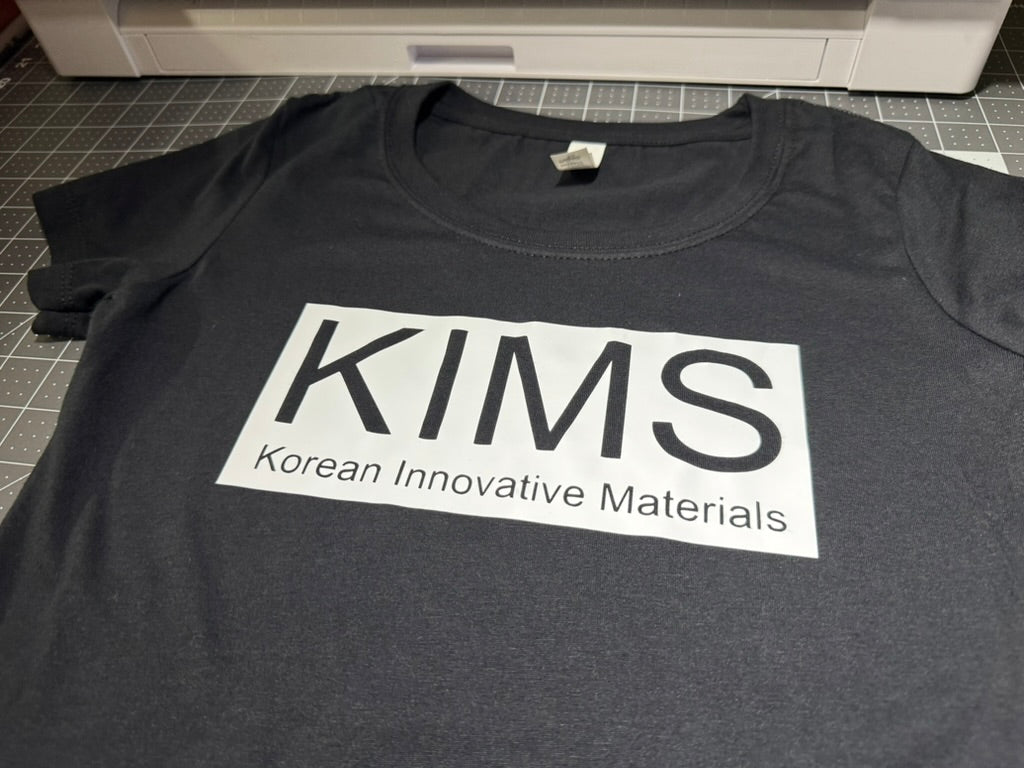
Creating custom t-shirts is a fantastic way to express your creativity, promote a brand, or make personalized gifts for friends and family. Heat Transfer Vinyl (HTV) is a versatile and user-friendly material that allows you to bring your unique designs to life. In this guide, we'll walk you through the step-by-step process of using HTV to make custom t-shirts that look professional and stand out from the crowd.
What You'll Need
Before diving in, gather the following materials:
-
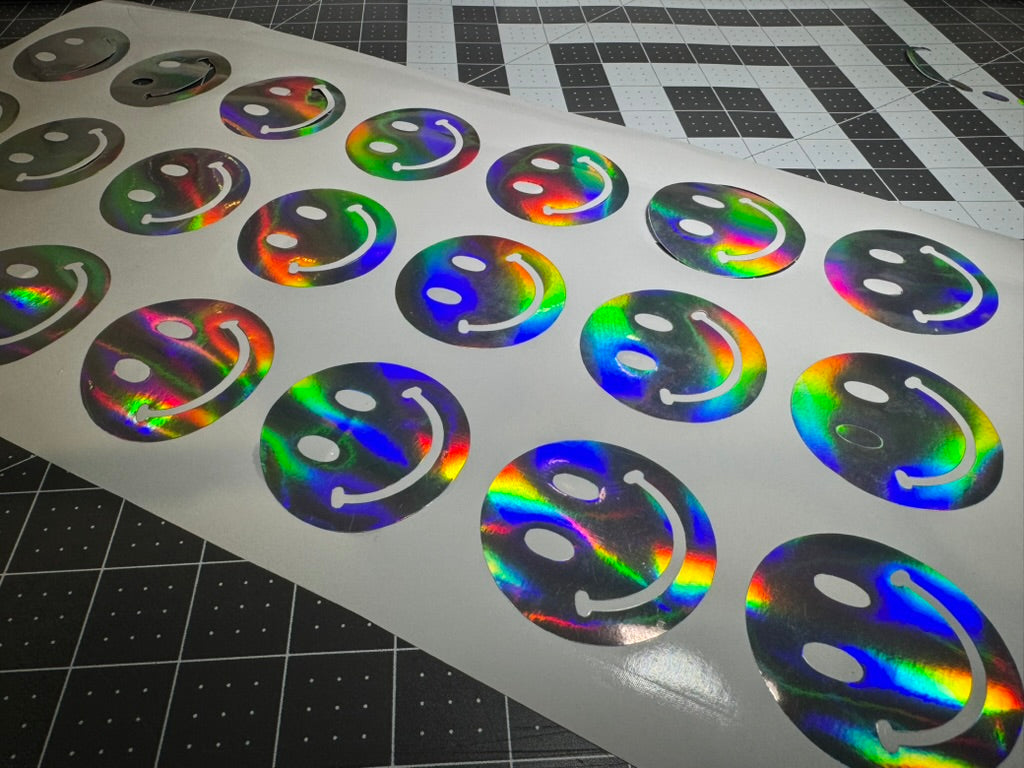
Heat Transfer Vinyl (HTV): Choose from a variety of colors, finishes, and effects like glitter, metallic, or holographic to enhance your design.
-
Cutting Machine: A vinyl cutter like Cricut or Silhouette is essential for precise cuts.
-
Weeding Tools: Tools to remove excess vinyl from your design.
-
Heat Press or Iron: A heat press ensures even temperature and pressure, but a household iron can work for smaller projects.
-
Plain T-Shirt: Cotton or cotton-blend shirts work best for HTV applications.
-
Computer with Design Software: Software compatible with your cutting machine to create or import designs.
-
Teflon Sheet or Parchment Paper: Protects your shirt and design during heat application.
Step-by-Step Guide
1. Design Your Artwork
Start by creating or selecting a design:
-
Create Custom Designs: Use design software like Adobe Illustrator, CorelDRAW, or the software provided with your cutting machine.
-
Consider Simplicity: Intricate designs may be challenging to cut and weed, especially for beginners.
-
Mirror Your Design: Since HTV is applied face-down, mirror your image before cutting to ensure it appears correctly on the t-shirt.
2. Prepare the HTV Material
-
Place HTV on Cutting Mat: Position the vinyl with the shiny side (carrier sheet) down and the dull side (vinyl) facing up.
-
Load into Cutting Machine: Ensure the mat is lined up correctly according to your machine's guidelines.
3. Cut the Design
-
Adjust Machine Settings: Select the appropriate cut settings for your HTV type. Test cuts can help determine the perfect settings.
-
Send Design to Cutter: Follow your machine's instructions to start the cutting process.
-
Monitor the Cut: Keep an eye on the process to catch any issues early on.
4. Weed the Excess Vinyl
-
Remove Unwanted Vinyl: Carefully peel away the excess vinyl, leaving only your design on the carrier sheet.
-
Use Weeding Tools: Tools like hooks or tweezers can help remove small pieces from intricate designs.
-
Take Your Time: Patience is key to avoid damaging your design.
5. Prepare the T-Shirt
-
Wash and Dry: Pre-wash your t-shirt without fabric softener to remove any sizing or chemicals.
-
Place on Flat Surface: Lay the shirt on a heat-resistant flat surface or the lower platen of a heat press.
-
Preheat the Shirt: Press the shirt for 5-10 seconds to remove moisture and wrinkles.
6. Position the Design
-
Find the Right Placement: Use measurements or visual cues to center your design on the shirt.
-
Secure the Design: The sticky carrier sheet helps keep the design in place. For added security, you can use heat-resistant tape.
7. Apply Heat
Using a Heat Press:
-
Set Temperature and Time: Typically, 305°F (150°C) for 10-15 seconds (refer to HTV manufacturer instructions).
-
Cover with Teflon Sheet: Protect the design and shirt from direct heat.
-
Apply Pressure: Close the heat press, applying medium to firm pressure.
-
Remove Carrier Sheet: Depending on the HTV type, peel the carrier sheet hot or cold as recommended.
Using an Iron:
-
Set Iron to Cotton Setting: Ensure steam is turned off.
-
Press Firmly: Apply pressure evenly over the design area for 10-15 seconds. Do not move the iron around.
-
Cover the Design: Always use a Teflon sheet or parchment paper between the iron and HTV.
-
Peel Carrier Sheet: Follow the manufacturer's recommendation for hot or cold peel.
8. Post-Application Press (Optional)
-
Secondary Press: For added durability, you can press the design again for 2-5 seconds after removing the carrier sheet, using the Teflon sheet as a barrier.
9. Let It Cool
-
Set Aside: Allow the t-shirt to cool down completely before wearing or packaging.
-
Avoid Washing Immediately: Wait at least 24 hours before the first wash to allow the adhesive to cure fully.
Tips for Success
-
Choose Quality Materials: High-quality HTV and t-shirts yield the best results.
-
Test Cuts Are Your Friend: Save time and materials by performing test cuts with small shapes.
-
Maintain Your Equipment: Regularly check and replace blades and cutting mats as needed.
-
Keep Workspace Clean: Lint and dust can interfere with vinyl adherence.
Care Instructions for HTV T-Shirts
To ensure the longevity of your custom t-shirts:
-
Wash Inside Out: This minimizes friction on the design.
-
Use Cold Water: Wash in cold or warm water on a gentle cycle.
-
Avoid Harsh Detergents: Use mild detergents without bleach.
-
Hang Dry When Possible: Prolongs the life of the HTV and the garment.
-
Iron Inside Out: If ironing is necessary, avoid direct contact with the design.
Exploring Creative Possibilities
Heat transfer vinyl opens up endless creative opportunities:
-
Mix and Match: Combine different HTV finishes like matte and glitter for dynamic designs.
-
Layering Vinyl: Learn advanced techniques to layer multiple colors and create depth.
-
Personalization: Add names, numbers, or custom messages for special events or teams.
-
Specialty Vinyl: Experiment with glow-in-the-dark, reflective, or flocked HTV for unique effects.
Frequently Asked Questions
Q: Can I use HTV on fabrics other than cotton?
A: Yes! HTV can be applied to various materials like polyester, cotton-poly blends, spandex, and even some leathers. Always check the HTV manufacturer's guidelines for fabric compatibility.
Q: Do I need a heat press to work with HTV?
A: While a heat press provides the best results due to consistent heat and pressure, you can use a household iron for small projects or when you're starting out.
Q: Why is my HTV peeling off after washing?
A: Peeling can result from insufficient heat, pressure, or pressing time during application. Ensure you're following the recommended settings and allow the design to cure for 24 hours before washing.
Conclusion
Embarking on the journey of creating custom t-shirts with heat transfer vinyl is both rewarding and enjoyable. With attention to detail and a bit of practice, you can produce professional-quality apparel that showcases your personal style or brand. Whether you’re crafting for fun, starting a small business, or making team shirts for an event, HTV is a versatile tool that brings your ideas to life.
Ready to Take Your Designs Further?
If you’re excited about HTV t-shirts, consider exploring these next steps:
-
Join Online Communities: Connect with fellow crafters on forums and social media groups to share tips and inspiration.
-
Upgrade Your Equipment: Investing in a heat press and advanced cutting machine can elevate the quality of your projects.
-
Explore Other Materials: Dive into adhesive vinyl for stickers, sublimation printing, or screen printing for different creative avenues.
-
Start a Small Business: Turn your hobby into a side hustle by offering custom apparel services.
Unlock your creativity and let your custom t-shirts make a statement!