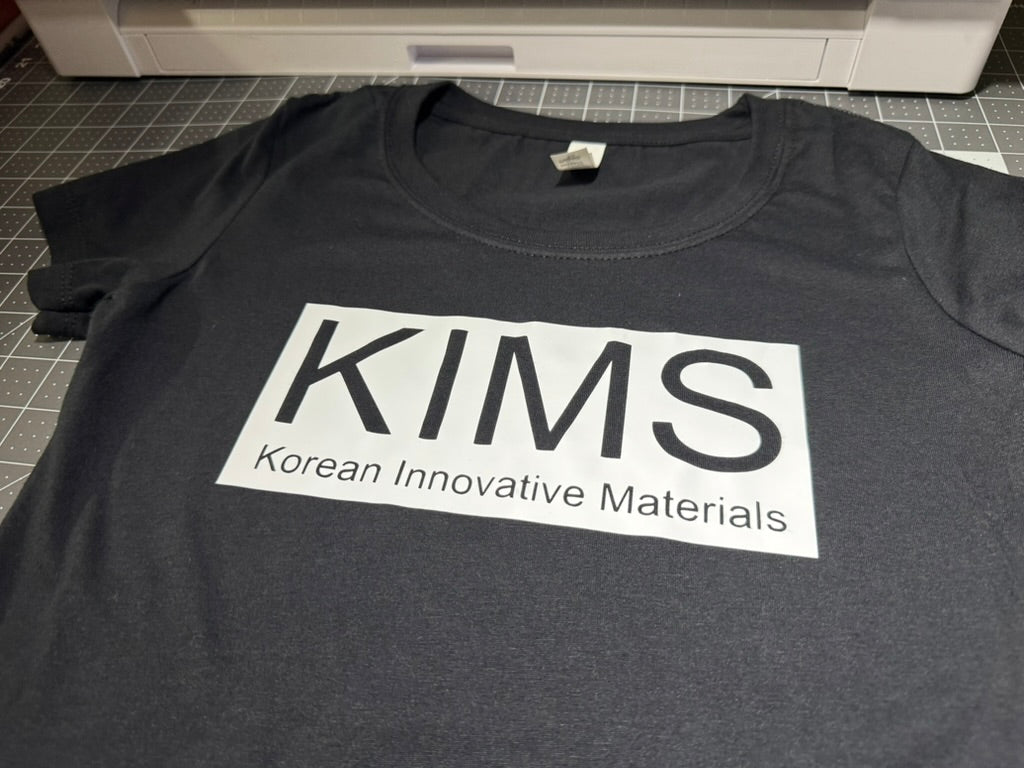
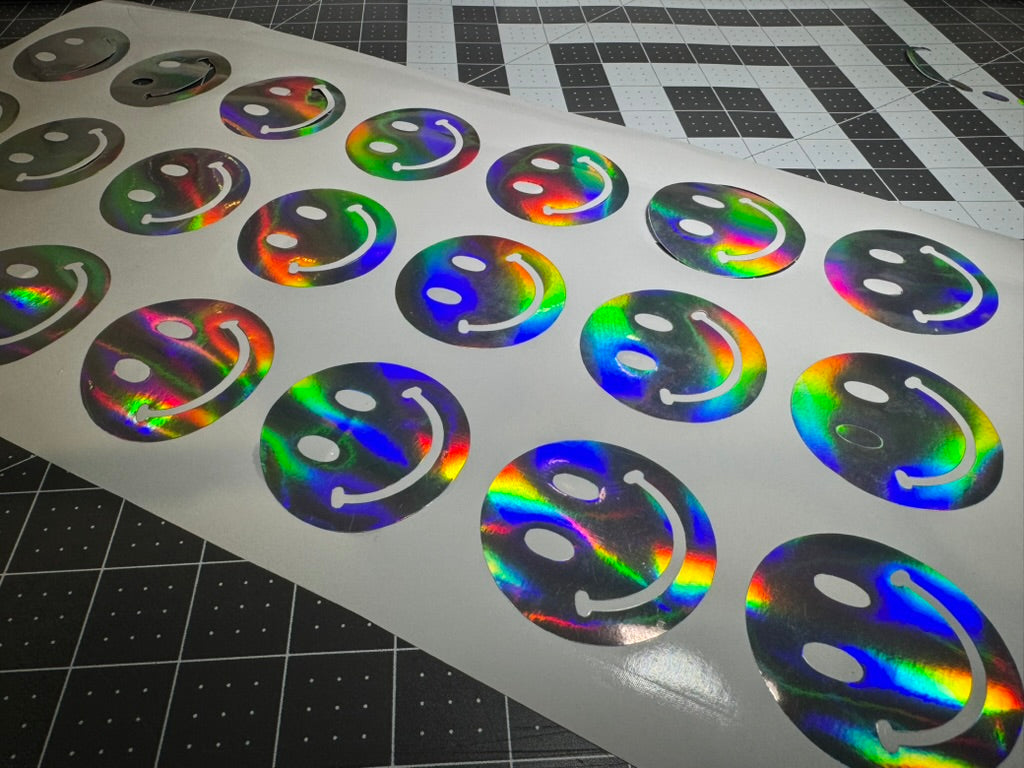
Heat Transfer Vinyl (HTV) is a game-changer for anyone looking to create custom apparel, accessories, or promotional items. When paired with a heat press, HTV allows for professional-quality results that are both durable and eye-catching. In this comprehensive guide, we'll walk you through the process of applying HTV using a heat press, sharing tips and insights to ensure your projects come out flawless every time.
Why Use a Heat Press for HTV Application?
While household irons can be used for HTV application, a heat press offers:
-
Consistent Temperature: Ensures even heat distribution across the design.
-
Proper Pressure: Adjustable settings provide the right amount of pressure for optimal adhesion.
-
Efficiency: Speeds up the application process, especially for bulk projects.
-
Professional Results: Delivers a polished look that's hard to achieve with an iron.
Materials You'll Need
Before you begin, gather the following essentials:
-
Heat Transfer Vinyl (HTV): Choose high-quality vinyl in your desired colors and finishes.
-
Garment or Fabric Item: Cotton or cotton-blend materials work best, but HTV can be applied to various fabrics.
-
Heat Press Machine: A reliable machine with adjustable temperature, time, and pressure settings.
-
Cutting Machine: Devices like Cricut, Silhouette, or Brother ScanNCut to cut your design.
-
Weeding Tools: Tweezers, hooks, or picks to remove excess vinyl.
-
Teflon Sheet or Parchment Paper: Protects your garment and heat press platen.
-
Design Software: Programs like Adobe Illustrator, Inkscape, or cutting machine software to create or import designs.
-
Measuring Tape or Ruler: For precise placement of your design.
-
Lint Roller (Optional): Removes debris from the garment before pressing.
Step-by-Step Application Process
1. Design Your Artwork
Create or Select a Design:
-
Original Designs: Unleash your creativity using design software.
-
Pre-made Designs: Utilize available templates or purchase designs from online marketplaces.
-
Considerations:
-
Vector Format: Ensure your design is in vector format (e.g., .svg, .eps) for scalability.
-
Complexity: Start simple if you're a beginner; intricate designs require more skill in weeding and application.
-
Mirror Your Design:
-
Essential Step: HTV designs must be mirrored (flipped horizontally) before cutting since you'll place them face-down on the garment.
2. Prepare the HTV for Cutting
Load the Vinyl:
-
Place on Cutting Mat: Position the HTV shiny side (carrier sheet) down and matte side (vinyl) facing up.
-
Secure Vinyl: Smooth out any bubbles or wrinkles to prevent cutting errors.
Adjust Cutting Settings:
-
Select Material Type: In your cutting machine software, choose the correct HTV setting.
-
Test Cut: Perform a small test cut to ensure the settings yield a clean cut without cutting through the carrier sheet.
3. Cut the Design
Send Design to Cutter:
-
Follow Instructions: Use your machine's guidelines to start the cutting process.
-
Monitor Progress: Watch for any issues like lifting edges or incomplete cuts.
4. Weed the Excess Vinyl
Remove Unwanted Vinyl:
-
Start from the Edge: Gently peel away the excess vinyl from around your design.
-
Work Slowly: Take care with small details to avoid tearing the vinyl.
-
Use Weeding Tools: Employ hooks or tweezers to remove tiny pieces inside letters or intricate areas.
5. Prepare the Garment
Pre-Press the Fabric:
-
Heat the Press: Set your heat press to the recommended temperature (typically between 305°F to 320°F or 150°C to 160°C, but refer to your HTV manufacturer's instructions).
-
Press the Garment: Place the fabric item on the lower platen and press for 5-10 seconds to eliminate moisture and wrinkles.
Position the Design:
-
Measure for Accuracy: Use a ruler or measuring tape to center the design.
-
Placement Tips:
-
Standard T-Shirt: For chest designs, position the top of the design 2-3 inches below the neckline.
-
Other Items: Adjust placement according to the item's shape and intended look.
-
-
Secure the Design: The sticky carrier sheet should hold the design in place. If necessary, use heat-resistant tape for added security.
6. Apply Heat and Pressure
Cover with Teflon Sheet:
-
Protection: Place a Teflon sheet or parchment paper over the design to protect both the vinyl and the heat press.
Set Heat Press Parameters:
-
Temperature: As per HTV instructions (e.g., 315°F / 157°C).
-
Pressure: Medium to firm pressure is generally recommended.
-
Time: Typically 10-15 seconds.
Press the Design:
-
Close the Heat Press: Lower the top platen carefully to avoid shifting the design.
-
Apply Pressure and Heat: Allow the press to complete the timed cycle.
7. Remove the Carrier Sheet
Peel Carefully:
-
Hot or Cold Peel: Refer to your HTV's instructions.
-
Hot Peel: Remove the carrier sheet immediately while still warm.
-
Cold Peel: Wait until the vinyl cools down before peeling.
-
-
Technique:
-
Smooth Motion: Peel the carrier sheet back slowly at a consistent angle.
-
Check Adhesion: If any part of the design lifts, lower the carrier sheet and press again.
-
8. Post-Press (Optional but Recommended)
Secondary Pressing:
-
Remove the Carrier Sheet: Ensure it's completely detached.
-
Cover Again: Place the Teflon sheet over the design.
-
Press Briefly: Apply heat for an additional 2-5 seconds to enhance adhesion.
9. Finalize and Inspect
Let the Garment Cool:
-
Cooling Period: Allow the item to cool down completely before handling excessively.
-
Quality Check:
-
Adhesion Test: Gently run your finger over the edges to ensure they're fully adhered.
-
Visual Inspection: Look for any imperfections or areas needing touch-up.
-
Tips and Best Practices
Selecting the Right HTV
-
Fabric Compatibility: Ensure the HTV is suitable for your fabric type (e.g., cotton, polyester, blends).
-
Vinyl Type: Choose the appropriate finish—matte, glossy, glitter, flocked, etc.—for your project.
Heat Press Maintenance
-
Clean Platen: Regularly clean the heat press platen to prevent residue transfer.
-
Calibration: Check temperature accuracy periodically with a heat gun or infrared thermometer.
Weeding Efficiency
-
Good Lighting: Adequate lighting helps you see cut lines more clearly.
-
Weeding Direction: Start weeding from the inner parts of the design outward.
Safety Precautions
-
Heat Protection: Be cautious of hot surfaces to avoid burns.
-
Ventilation: Operate in a well-ventilated area to disperse any fumes.
Practice Makes Perfect
-
Test Runs: Practice on scrap fabric or less expensive items to hone your skills.
-
Document Settings: Keep a record of successful temperature, time, and pressure settings for future reference.
Care Instructions for HTV-Applied Items
To ensure the longevity of your custom creations:
-
Wait Before Washing: Allow 24-48 hours before the first wash.
-
Wash Inside Out: Protects the design from friction.
-
Cold Water Wash: Use mild detergent on a gentle cycle.
-
Avoid Harsh Chemicals: No bleach or strong detergents.
-
Air Dry or Low Heat: High heat can damage the vinyl.
-
Ironing: If necessary, iron inside out on low heat, avoiding direct contact with the design.
Troubleshooting Common Issues
Vinyl Peeling Off
-
Possible Causes:
-
Insufficient heat, pressure, or time.
-
Incompatible fabric or vinyl.
-
-
Solutions:
-
Re-press with correct settings.
-
Confirm fabric and HTV compatibility.
-
Wrinkled or Scorched Fabric
-
Possible Causes:
-
Excessive heat or pressure.
-
-
Solutions:
-
Adjust temperature and pressure settings.
-
Use a protective Teflon sheet.
-
Bubbles or Lines in Vinyl
-
Possible Causes:
-
Moisture in fabric.
-
Uneven pressure.
-
-
Solutions:
-
Pre-press fabric longer to remove moisture.
-
Ensure the garment is flat and even on the press.
-
Exploring Advanced Techniques
Layering HTV
-
Multi-Color Designs: Apply different layers of vinyl to create complex images.
-
Technique:
-
Apply Base Layer First: Press each layer for a shorter time to prevent overheating.
-
Final Press: After all layers are in place, do a final press for full duration.
-
Using Specialty Vinyls
-
Types to Try:
-
Glitter HTV: Adds sparkle to designs.
-
Holographic HTV: Provides a reflective, color-shifting effect.
-
Flocked HTV: Gives a velvety texture.
-
-
Application Tips:
-
Adjust Settings: Specialty vinyls may require different temperatures and pressures.
-
Test First: Always perform a test press with new materials.
-
Incorporating Mixed Media
-
Combining Techniques: Use HTV alongside screen printing, embroidery, or sublimation for unique results.
-
Consider Fabric Type: Ensure all materials and methods are compatible with the fabric.
Inspiration and Ideas
-
Custom Apparel: Design team jerseys, family reunion shirts, or bridal party tees.
-
Promotional Items: Create branded merchandise like tote bags or hats.
-
Personalized Gifts: Craft unique items for birthdays, holidays, or special occasions.
-
Home Décor: Apply HTV to pillowcases, canvas art, or wall hangings.
Conclusion
Applying heat transfer vinyl with a heat press opens up a world of creative possibilities. With the right tools, materials, and techniques, you can produce professional-quality items that showcase your personal flair or brand identity. Remember, perfection comes with practice, so don't hesitate to experiment and refine your skills.
Ready to Elevate Your Craft?
Here are some next steps to deepen your HTV journey:
-
Join Online Communities: Connect with fellow crafters on platforms like Facebook Groups, Instagram, or crafting forums to share tips and gain inspiration.
-
Attend Workshops or Classes: Hands-on learning can accelerate your proficiency.
-
Stay Updated: Follow industry blogs, YouTube channels, or podcasts dedicated to vinyl crafting and heat press techniques.
-
Expand Your Toolkit: Explore advanced equipment or software to enhance your design capabilities.
Unleash your creativity and transform ordinary items into extraordinary pieces with the power of heat transfer vinyl and a heat press!


