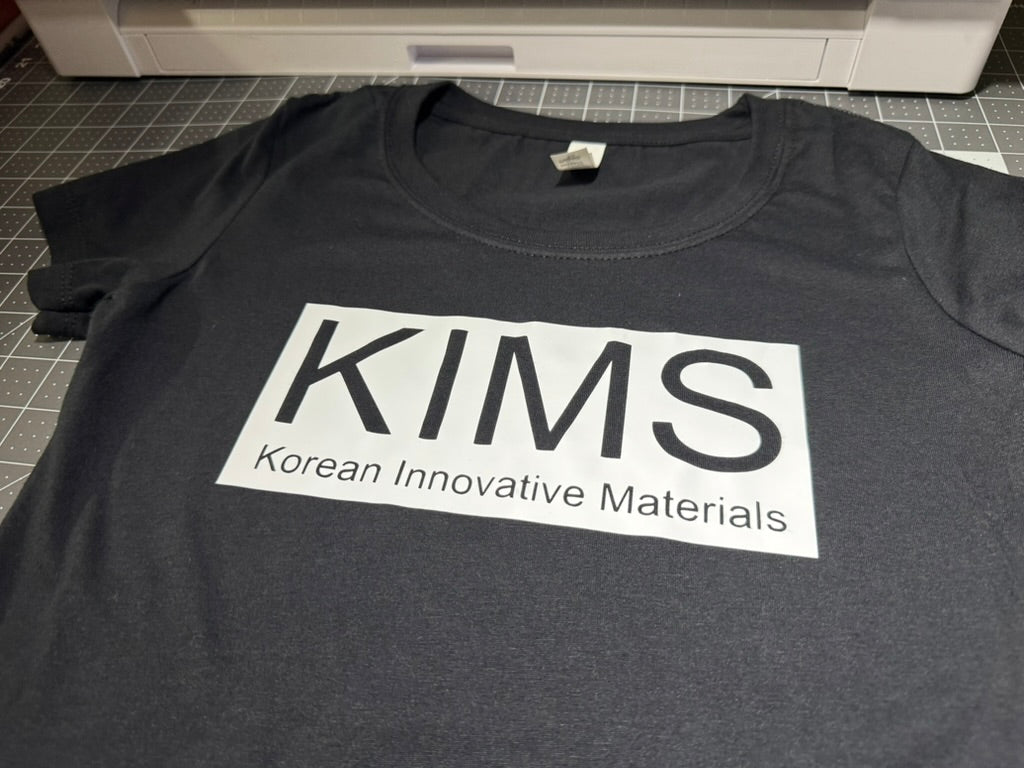
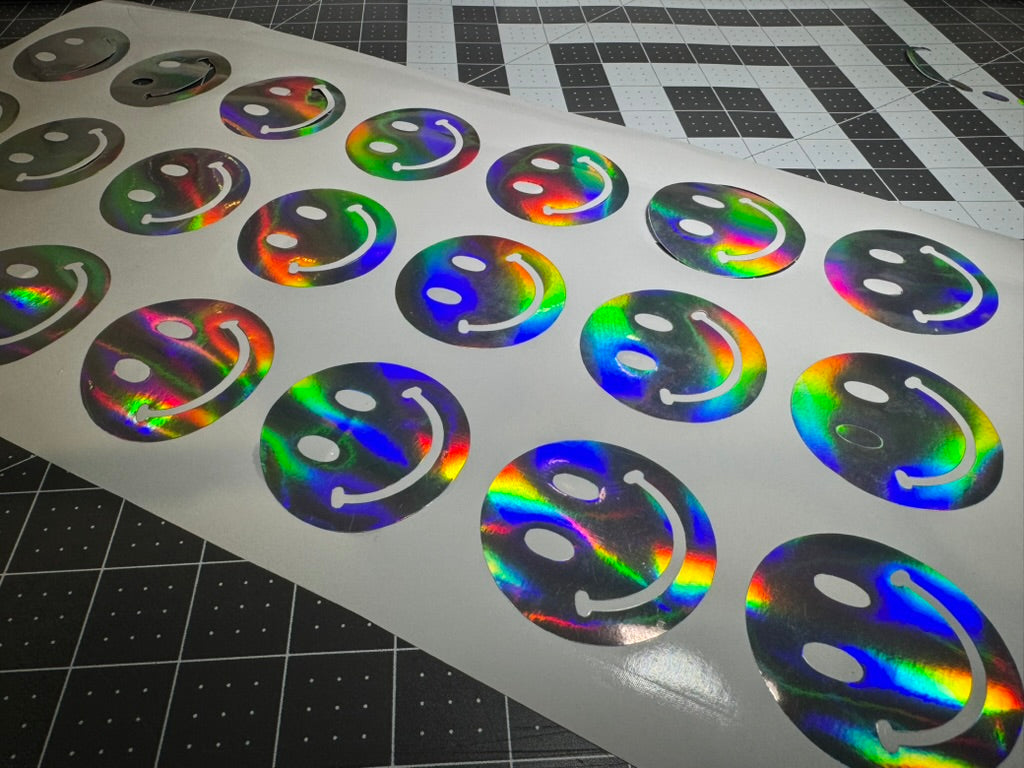
Printable heat transfer vinyl (HTV) allows you to create detailed, full-color designs on fabric using an inkjet printer and heat press. Unlike traditional HTV, which comes in solid colors that must be cut and layered, printable HTV lets you transfer complex images in one application. This makes it perfect for photos, gradients, and multi-colored designs that would be difficult to create with standard vinyl.
This guide explains what printable HTV is, how it differs from regular HTV, and provides step-by-step instructions for creating professional-quality transfers on various fabrics.
What Is Printable Heat Transfer Vinyl?
Printable heat transfer vinyl is a special material that can be printed on with an inkjet printer and then applied to fabric using heat. It consists of a printable layer attached to a backing sheet. After printing your design, you cut around it, remove the excess material, and use heat to transfer the image to your fabric.
This versatile material works on cotton, polyester, blends, and even some specialty fabrics. Depending on the brand and type, printable HTV comes in versions for both light and dark fabrics.
The key advantage of printable HTV is the ability to transfer full-color images without the complex layering required with traditional HTV. This makes it ideal for:
-
Photo prints on t-shirts
-
Detailed graphics with multiple colors
-
Gradient designs
-
Small-batch custom apparel
Regular HTV vs. Printable HTV
Understanding the differences between regular and printable HTV helps you choose the right material for your project.
|
Feature |
Regular HTV |
Printable HTV |
|---|---|---|
|
Colors |
Single color per sheet |
Full-color designs |
|
Design complexity |
Requires layering for multiple colors |
Prints complex designs in one layer |
|
Equipment needed |
Cutting machine only |
Printer plus cutting machine |
|
Application process |
Cut and weed |
Print, cut, and weed |
|
Best for |
Simple text, logos, shapes |
Photos, detailed graphics, gradients |
Regular HTV works well for basic designs with one or two colors. For example, a team name or simple logo can be quickly cut from colored vinyl sheets. However, when you need to reproduce photographs or detailed artwork, printable HTV saves time and produces more accurate results.
Essential Tools and Materials for Printing on HTV
To work with printable heat transfer vinyl, you'll need these basic supplies:
-
Inkjet printer: Most printable HTV works with standard inkjet printers using pigment-based ink
-
Cutting machine: A Cricut, Silhouette, or similar device to cut around your printed design
-
Printable heat transfer vinyl: Choose the correct type for your fabric (light or dark)
-
Heat press or iron: A heat press provides more consistent results, but a household iron can work
-
Teflon sheet or parchment paper: Protects your design during pressing
-
Design software: Programs like Cricut Design Space or Silhouette Studio
-
Weeding tools: For removing excess vinyl around your design
The quality of your tools affects your results. A reliable printer with good color reproduction makes a big difference in how your final design looks. Similarly, a heat press with accurate temperature control helps ensure proper adhesion to the fabric.
Step-by-Step Process for Printable Heat Transfer Vinyl
1. Prepare the Design
Create or select a design that works well for fabric printing. Unlike regular HTV, you typically don't need to mirror your design when using printable HTV for dark fabrics (but always check the manufacturer's instructions).
Design tips:
-
Use high-resolution images (at least 300 dpi)
-
Make sure text is readable at the final print size
-
Consider how the design will look on the fabric color
-
Save in PNG format to preserve transparency if needed
If using a cutting machine like Cricut or Silhouette, set up your design with cut lines or registration marks so the machine knows where to cut around your printed image.
2. Print on the HTV
Load the printable HTV into your printer with the printable (matte) side facing up. The printable side usually looks like fabric, while the backing has a shiny appearance.
Printing guidelines:
-
Set your printer to "best" or "photo" quality
-
Use the paper type recommended by the vinyl manufacturer (often "premium photo paper")
-
Allow the ink to dry completely before handling (usually 5-10 minutes)
-
Do not touch the printed surface to avoid smudging
Some printers handle printable vinyl better than others. If you notice streaking or poor color reproduction, you might need to adjust your printer settings or try a different brand of printable HTV.
3. Cut and Weed the Vinyl
After your design is printed and dry, it's time to cut around it using your cutting machine. If you're using scissors instead, carefully cut around the design leaving a small margin.
For cutting machines:
-
Place the printed vinyl on your cutting mat with the printed side up
-
Load the mat into your machine
-
Use the recommended cut settings for printable vinyl (usually similar to "premium vinyl" settings)
-
Perform a test cut if this is your first time using this brand of vinyl
Once cut, weed away the excess vinyl around your design. Start from the outside edges and work your way in, being careful not to remove parts of your design.
4. Apply the Transfer Mask
Some printable HTV requires a transfer mask to move the design from the backing to your fabric. This clear sheet has a light adhesive that holds your design during positioning.
If your printable HTV uses a transfer mask:
-
Cut a piece of mask slightly larger than your design
-
Peel off the backing and place the sticky side on your design
-
Use a scraper or credit card to firmly press the mask onto the design
-
Slowly peel away the original backing, checking that your design transfers to the mask
Not all printable HTV requires a transfer mask. Some types allow you to peel the design directly from the backing and place it on your fabric.
5. Press the Design
Now it's time to transfer your design to fabric using heat. First, preheat your fabric for 2-3 seconds to remove moisture and wrinkles.
Heat press settings for common fabrics:
|
Fabric Type |
Temperature |
Time |
Pressure |
|---|---|---|---|
|
Cotton |
305°F/150°C |
15 sec |
Medium |
|
Polyester |
270°F/130°C |
10-15 sec |
Medium |
|
Cotton/Poly Blend |
285°F/140°C |
15 sec |
Medium |
|
Dark Fabrics |
305°F/150°C |
20 sec |
Medium-firm |
Position your design on the fabric, place a teflon sheet or parchment paper over it for protection, then apply heat and pressure according to the manufacturer's instructions.
After pressing, allow the design to cool according to the vinyl instructions. Some types require "hot peel" (removing the mask while still warm), while others need "cold peel" (waiting until completely cool).
Troubleshooting Common Printable HTV Issues
Even experienced crafters encounter problems with printable HTV. Here are solutions to common issues:
Design not adhering properly:
-
Increase temperature, time, or pressure
-
Make sure you're using the correct settings for your fabric type
-
Pre-press the fabric to remove moisture
-
Check that your heat press is reaching the proper temperature
Colors look faded after transfer:
-
Use higher quality printable HTV
-
Adjust printer settings for more vibrant colors
-
Make sure you're using the correct type of vinyl for your fabric color
-
Use pigment-based ink rather than dye-based ink
Design cracks or peels after washing:
-
Wait at least 24 hours before washing
-
Wash inside-out in cold water
-
Avoid harsh detergents and bleach
-
Air dry instead of using a dryer
-
Make sure you applied enough heat and pressure during transfer
Difficulty cutting or weeding:
-
Allow ink to dry completely before cutting
-
Use a sharp, clean blade
-
Adjust cut settings (depth, pressure, speed)
-
Use good lighting and proper weeding tools
Care and Washing Tips for Long-Lasting Results
To keep your printable HTV designs looking great:
-
Wait 24 hours after application before washing
-
Turn garments inside-out before washing
-
Use cold water and mild detergent
-
Avoid bleach and fabric softeners
-
Air dry or use low heat in the dryer
-
Don't iron directly on the design
With proper care, printable HTV designs can last through dozens of wash cycles while maintaining good color and adhesion.
Best Practices for High Volume Projects
When creating multiple items with printable HTV, efficiency becomes important. These strategies help streamline your workflow:
-
Batch similar designs together - Print and cut similar designs in one session to minimize material waste and setup time.
-
Create templates for consistent placement - For items like t-shirts, make simple templates that help you position designs in the same spot every time.
-
Optimize your print layout - Arrange multiple designs on a single sheet of printable HTV to use materials efficiently.
-
Keep detailed records - Note which settings worked best for different fabrics and designs to avoid repeating test runs.
KIMS Direct's printable heat transfer vinyl offers superior cutting precision and easier weeding, which can significantly reduce production time when working on multiple items.
Transform Your Projects with Printable HTV
Printable heat transfer vinyl opens up creative possibilities that would be difficult to achieve with traditional vinyl. From photo-realistic images to complex multi-colored designs, this versatile material helps you create professional-looking custom apparel and accessories.
By understanding the proper techniques for printing, cutting, and applying printable HTV, you can achieve consistent, high-quality results on various fabric types. As you gain experience, you'll discover which brands and methods work best for your specific projects.
FAQs About Printable Heat Transfer Vinyl
What type of printer works best with printable heat transfer vinyl?
Most printable HTV is designed for standard inkjet printers with pigment-based ink, though some specialty products are compatible with eco-solvent, latex, or sublimation printers.
How do I prevent color bleeding when applying printable HTV to polyester?
Use a lower temperature setting (265-275°F) and ensure your printable HTV is specifically formulated for synthetic fabrics to prevent dye migration.
Can I use printable heat transfer vinyl on dark-colored fabrics?
Yes, but you need to use printable HTV specifically designed for dark fabrics, which includes an opaque white backing layer to maintain color vibrancy.
How durable is printable heat transfer vinyl compared to regular HTV?
Quality printable HTV can last through 50+ wash cycles when properly applied and cared for, making it comparable to regular HTV in terms of durability.
Do I need to mirror my design when using printable heat transfer vinyl?
For most printable HTV for dark fabrics, you don't need to mirror the design, but printable HTV for light fabrics often requires mirroring. Always check the manufacturer's instructions.


