Introduction
PU heat transfer vinyl offers crafters and businesses a versatile way to create custom designs on fabric. This thin, flexible material produces professional results when applied correctly. Whether you're making custom t-shirts, sports jerseys, or personalized gifts, understanding how to work with PU heat transfer vinyl can help you achieve crisp, long-lasting designs.
In this guide, we'll explore what makes PU heat transfer vinyl special, how to apply it properly, and tips for troubleshooting common issues. You'll learn the optimal heat settings, best practices for different fabrics, and techniques to elevate your projects.
What Is PU Heat Transfer Vinyl
PU heat transfer vinyl (also called PU HTV) is made from polyurethane, a flexible plastic material. Unlike other vinyl types, PU HTV is thin (about 0.1mm thick) and has a soft feel when applied to fabric. This makes it comfortable to wear and allows the fabric to maintain its natural drape and stretch.
The vinyl comes with a clear carrier sheet that holds your design in place until application. After cutting and weeding (removing unwanted vinyl), you use heat and pressure to transfer the design to fabric. The heat activates the adhesive backing, creating a strong bond with the fabric fibers.
Key features that make PU heat transfer vinyl popular include:
-
Flexibility: Stretches with fabric without cracking
-
Thinness: Creates a "part of the fabric" look rather than sitting on top
-
Durability: Withstands multiple wash cycles without peeling
-
Versatility: Works on cotton, polyester, and blended fabrics
Why Choose PU HTV Over Other Types
When comparing vinyl options, PU heat transfer vinyl stands out for several reasons. Understanding these differences helps you choose the right material for your specific project.
|
Feature |
PU Heat Transfer Vinyl |
PVC Vinyl |
Screen Printing |
|---|---|---|---|
|
Feel on Fabric |
Soft, thin, flexible |
Thicker, stiffer |
Varies by ink type |
|
Durability |
50+ washes when applied correctly |
20-30 washes |
50+ washes |
|
Detail Capability |
Excellent for fine lines and small text |
Good for medium detail |
Varies by setup |
|
Application |
Heat press or iron |
Heat press |
Professional equipment |
|
Cost |
Medium |
Low |
High setup, low per unit |
PU HTV works particularly well for:
-
Athletic wear that needs to stretch
-
Designs with small text or intricate details
-
Projects requiring a retail-quality finish
-
Items that will be washed frequently
Unlike PVC vinyl, which can feel stiff and plastic-like, PU heat transfer vinyl maintains a soft hand feel that's barely noticeable when worn. This makes it ideal for comfortable, everyday garments.
How To Prepare Your Fabric And Design
Proper preparation is essential for successful PU heat transfer vinyl application. Taking time to prepare both your fabric and design will save frustration later and produce better results.
Start by selecting the right fabric. While PU HTV works on many materials, it adheres best to:
-
Cotton (100% or high-percentage blends)
-
Polyester (requires lower temperature)
-
Cotton-poly blends
-
Some nylon fabrics (with adjusted settings)
Always pre-wash your garment before applying vinyl. This removes sizing chemicals and prevents shrinkage after application. Skip fabric softeners, as they can interfere with vinyl adhesion.
When designing for PU heat transfer vinyl, remember:
-
Design complexity: While PU HTV can handle intricate designs, very small details might be difficult to weed and apply
-
Text size: Keep text at least 1/4 inch tall for best results
-
Mirror your design: Cut PU HTV with the shiny carrier sheet facing down and remember to mirror (flip) your design before cutting
For best results with your cutting machine:
-
Use a sharp blade
-
Do test cuts to find the right pressure and speed
-
Set your machine to cut only through the vinyl layer, not the carrier sheet
Step-By-Step Application Process For PU HTV
1. Preheat Your Press And Position Your Design
Start by heating your press to the temperature appropriate for your fabric (see the temperature chart in the next section). While it heats up, position your garment on the press, making sure it's flat and wrinkle-free.
Pre-press the garment for 2-3 seconds to remove moisture and wrinkles. This quick press makes a big difference in final results.
Position your cut and weeded design on the garment. For accurate placement:
-
Use a t-shirt alignment tool
-
Measure from the collar or seams
-
Follow the "4 fingers down from the collar" rule for standard adult t-shirts
![Positioning PU HTV design on a t-shirt]
2. Apply The Right Pressure And Time
Proper pressure is just as important as temperature. For PU heat transfer vinyl, use medium to firm pressure - about 4-6 kg/Mpa on most heat presses.
Cover your design with a teflon sheet or parchment paper to protect both the vinyl and your heat press. Close the press and apply heat for the recommended time (usually 12-15 seconds for standard PU HTV).
For uneven surfaces like seams or buttons:
-
Use a pressing pillow under the application area
-
Consider a heat press with floating plates
-
Apply slightly more pressure to ensure even contact
3. Peel The Carrier Correctly
After pressing, open the heat press and wait 2-3 seconds. This brief cooling period helps the vinyl set while still warm.
Peel the carrier sheet at a 45-degree angle, starting from one corner and moving slowly across the design. If any part of the vinyl lifts with the carrier sheet, replace the carrier, cover with a protective sheet, and press again for a few seconds.
A proper application should:
-
Feel firmly bonded to the fabric
-
Have a smooth, even surface
-
Show no air bubbles or lifted edges
Optimal Heat Settings And Pressing Times
Using the correct temperature, time, and pressure for your specific fabric is crucial for successful application. These settings ensure proper adhesion without damaging the fabric or vinyl.
|
Fabric Type |
Temperature |
Time |
Pressure |
Peel Type |
|---|---|---|---|---|
|
100% Cotton |
320°F/160°C |
15 seconds |
Medium |
Warm |
|
Polyester |
275°F/135°C |
10-12 seconds |
Medium |
Warm |
|
50/50 Blend |
305°F/150°C |
12-15 seconds |
Medium |
Warm |
|
Nylon |
270°F/132°C |
8-10 seconds |
Light-Medium |
Warm |
These settings work for standard PU heat transfer vinyl. For specialty finishes like metallic or holographic PU HTV, check the manufacturer's recommendations, as they may require different temperatures.
If you're using a household iron instead of a heat press:
-
Set to the cotton setting (no steam)
-
Press firmly for 30-40 seconds
-
Apply pressure by leaning into the iron
-
Move the iron slightly every 10 seconds to maintain heat
Remember that heat presses provide more consistent results than irons because they deliver even heat and pressure across the entire design.
Troubleshooting Common Mistakes
Even experienced crafters occasionally run into issues with PU heat transfer vinyl. Knowing how to identify and fix common problems will save you time and materials.
1. Peeling Or Cracking
If your design peels up at the edges or cracks when stretched, the vinyl likely didn't adhere properly.
Common causes include:
-
Insufficient heat: The temperature was too low to activate the adhesive
-
Not enough pressure: The vinyl didn't bond completely to the fabric
-
Washing too soon: The adhesive needs 24 hours to fully set
To fix peeling edges on an already-applied design, cover it with a protective sheet and repress at the recommended temperature for 5-10 seconds. For cracking, try to avoid overstretching the garment, especially in the first few days after application.
2. Vinyl Not Adhering
Sometimes the vinyl doesn't stick to the fabric at all, or only parts of the design transfer.
This usually happens because of:
-
Incompatible fabric: Some fabrics have coatings that resist adhesion
-
Uneven pressure: Parts of the design didn't receive enough pressure
-
Incorrect temperature: Either too high or too low for proper bonding
Test adhesion by gently lifting a corner of the carrier sheet while still warm. If the vinyl lifts with it, repress for a few more seconds. For stubborn fabrics, try increasing the temperature by 5-10 degrees or extending the press time slightly.
3. Scorching Or Discoloration
Fabric discoloration is most common with synthetic materials like polyester, which can scorch easily.
To prevent scorching:
-
Lower the temperature: Use the recommended setting for your fabric type
-
Reduce press time: Don't exceed the suggested time
-
Use a protective sheet: This creates a buffer between the heat source and fabric
If you notice slight yellowing on polyester, try washing the garment immediately. For future projects, reduce your temperature by 10-15 degrees and test on scrap fabric first.
How To Maintain And Wash PU HTV Designs
Proper care extends the life of your PU heat transfer vinyl designs. Share these instructions with customers to help them get the most from their customized items.
Wait at least 24 hours after application before washing. This allows the adhesive to fully cure and create the strongest bond with the fabric.
When washing, turn the garment inside out to protect the design from friction against other clothes. Use cold or warm water (never hot) and mild detergent without bleach or fabric softener.
For drying, choose a low heat setting or air dry. High heat can cause the vinyl to warp or lose adhesion over time. Avoid ironing directly over the design; if necessary, iron the garment inside out or use a pressing cloth.
Care instructions at a glance:
-
Waiting period: 24 hours before first wash
-
Water temperature: Cold or warm
-
Detergent type: Mild, no bleach
-
Drying method: Low heat or air dry
-
Ironing: Avoid direct heat on design
Advanced Techniques And Specialty Finishes
Once you master basic PU heat transfer vinyl application, you can explore more advanced techniques to create unique designs.
Layering different colors creates dimension and visual interest. To layer PU HTV:
-
Press the bottom layer first
-
Let it cool slightly
-
Position the second layer
-
Press at a slightly lower temperature (10°F less than the first layer)
-
Continue adding layers as desired
Specialty PU heat transfer vinyl finishes include:
-
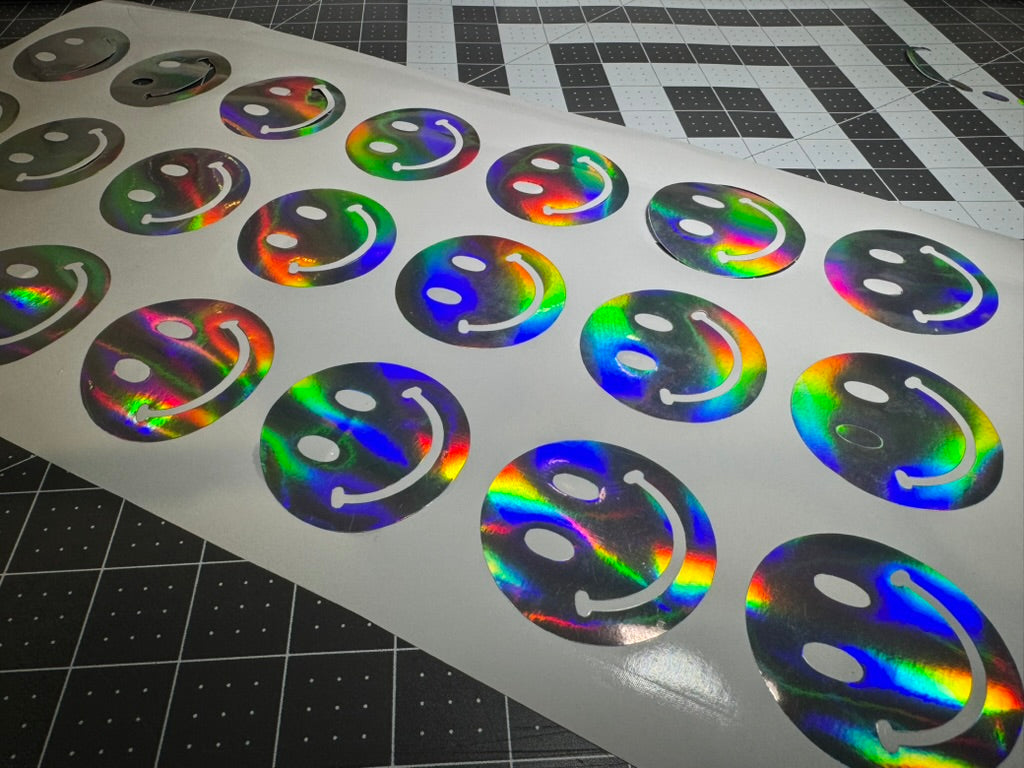
Holographic: Creates rainbow reflective effects
-
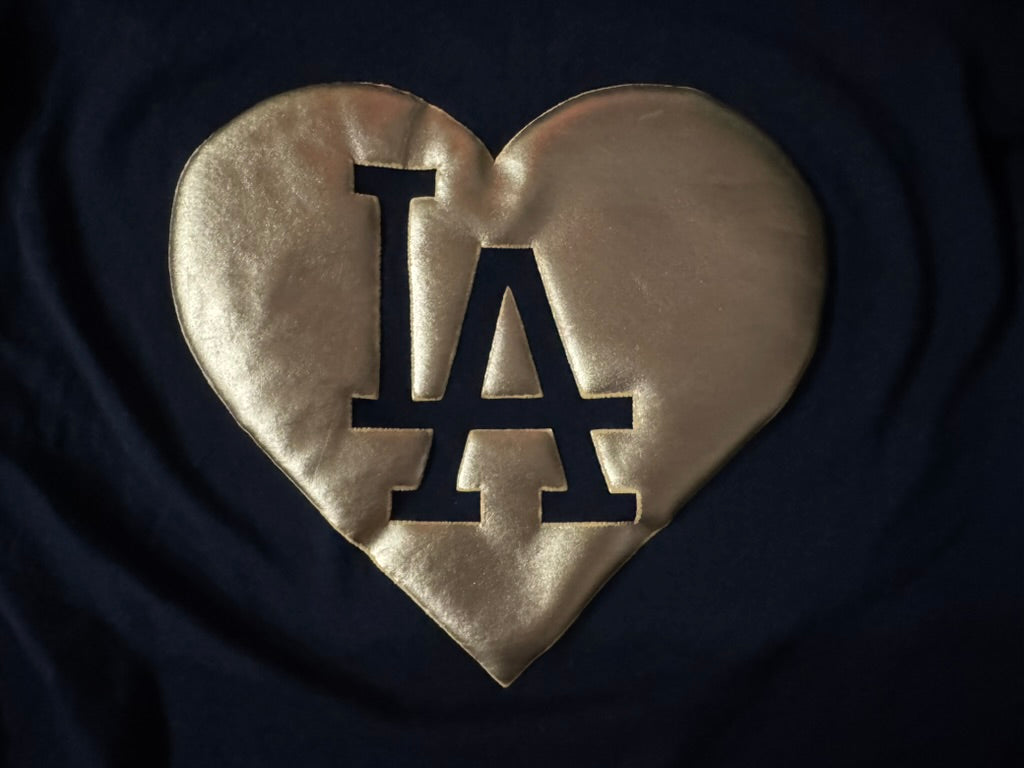
Metallic: Offers a shiny, metal-like appearance
-
Reflective: Glows when light hits it
-
Glow-in-the-dark: Absorbs light and glows in darkness
Each specialty finish may require slightly different application settings:
-
Holographic PU HTV often needs lower temperatures (285-300°F)
-
Metallic finishes benefit from a protective sheet to prevent surface damage
-
Reflective vinyl typically requires medium-firm pressure for proper adhesion
-
Glow-in-the-dark vinyl may need slightly longer press times to activate properly
For multi-color designs, registration marks help align each layer precisely. Add small alignment crosses outside your design area to ensure perfect positioning of each color layer.
Elevate Your Results With Premium Materials
The quality of your PU heat transfer vinyl significantly impacts your final results. While budget options might seem appealing, premium materials often provide better performance and durability.
High-quality PU heat transfer vinyl offers:
-
Cleaner cutting edges for easier weeding
-
Stronger adhesives for better durability
-
More consistent thickness for reliable results
-
Better color retention through multiple washes
When choosing PU heat transfer vinyl, look for:
-
Consistent thickness across the sheet or roll
-
Clear, stable carrier sheet that holds small pieces in place
-
Clean edges after cutting
-
Good reviews from other crafters
KIMS Direct offers premium PU heat transfer vinyl formulated for professional results. Our vinyl features superior cutting precision and easier weeding, allowing you to complete projects faster with less frustration. Our materials maintain vibrant colors and strong adhesion through 50+ wash cycles.
Explore our full collection of PU heat transfer vinyl at https://kimsdirect.com/collections/all.
FAQs About PU Heat Transfer Vinyl
What makes PU heat transfer vinyl different from regular vinyl?
PU heat transfer vinyl is made from polyurethane, which creates a thinner, more flexible finish compared to PVC vinyl. This results in a softer feel on garments and better stretch recovery after washing.
How long does PU heat transfer vinyl last on clothing?
Properly applied PU heat transfer vinyl typically lasts for 50+ wash cycles when cared for according to instructions, maintaining vibrant colors and strong adhesion throughout the garment's life.
Can I apply PU heat transfer vinyl on polyurethane leather?
Yes, PU heat transfer vinyl can adhere to polyurethane leather when applied at reduced temperatures (265-275°F) with a protective pressing sheet to prevent damage to the leather surface.
What cutting machines work best with PU heat transfer vinyl?
Most electronic cutting machines including Cricut, Silhouette, Brother ScanNCut, and commercial plotters like Roland and Graphtec work well with PU heat transfer vinyl when using proper blade depth and cutting settings.
Is PU heat transfer vinyl safe for children's clothing?
PU heat transfer vinyl is generally considered safe for children's clothing as it's typically free from harmful chemicals like phthalates and lead, but always verify product certifications for specific applications.


