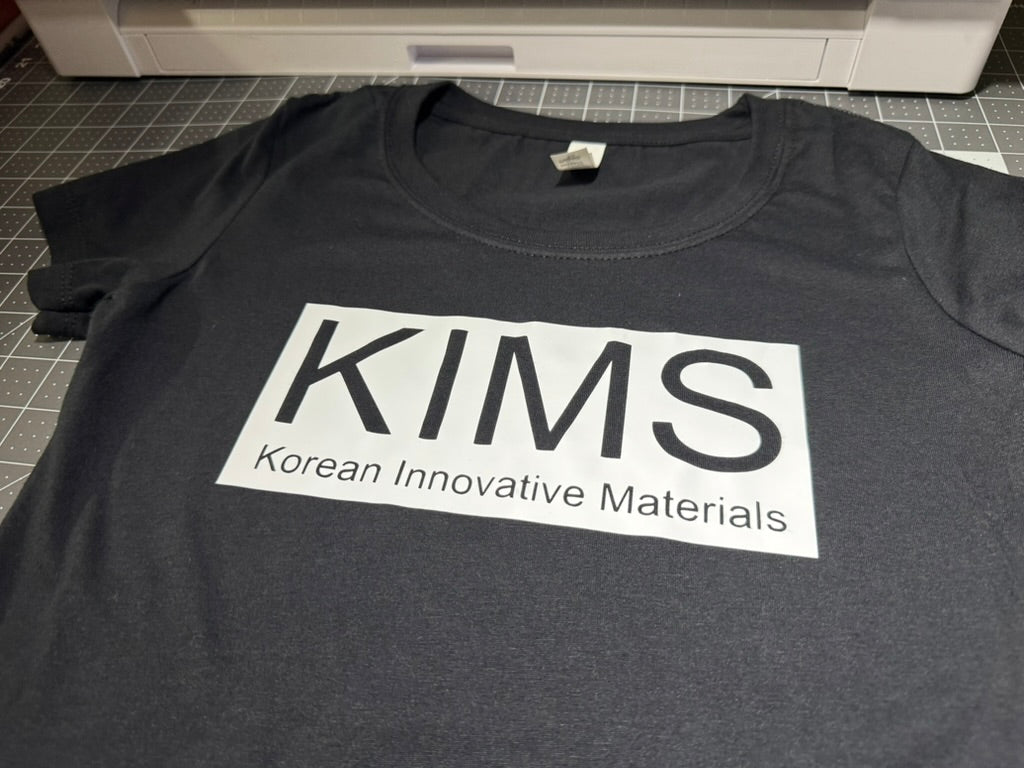
Custom crafting has never been more popular, and one of the most versatile materials in the DIY world is Heat Transfer Vinyl (HTV). Whether you're personalizing t-shirts, tote bags, or even wood signs, HTV is a game-changer for crafters and small business owners alike. In this beginner-friendly guide, we’ll cover everything you need to know about HTV, including what it is, how it works, and tips for getting started with your first project.
What Is Heat Transfer Vinyl (HTV)?
Heat Transfer Vinyl, commonly referred to as HTV, is a type of vinyl material that adheres to fabrics and other surfaces when heat and pressure are applied. Unlike adhesive vinyl, which sticks to surfaces like walls and glass, HTV is specifically designed for textiles and soft goods. It comes in rolls or sheets and can be cut into intricate designs using a cutting machine like a Cricut or Silhouette Cameo.
Types of HTV
There are various types of heat transfer vinyl available, each suited for different crafting needs:
-
Standard HTV – The most commonly used vinyl for cotton and polyester fabrics.
-
Glitter HTV – Adds sparkle and texture to your designs, perfect for eye-catching apparel.
-
Flock HTV – Has a soft, velvety texture, ideal for creating unique tactile designs.
-
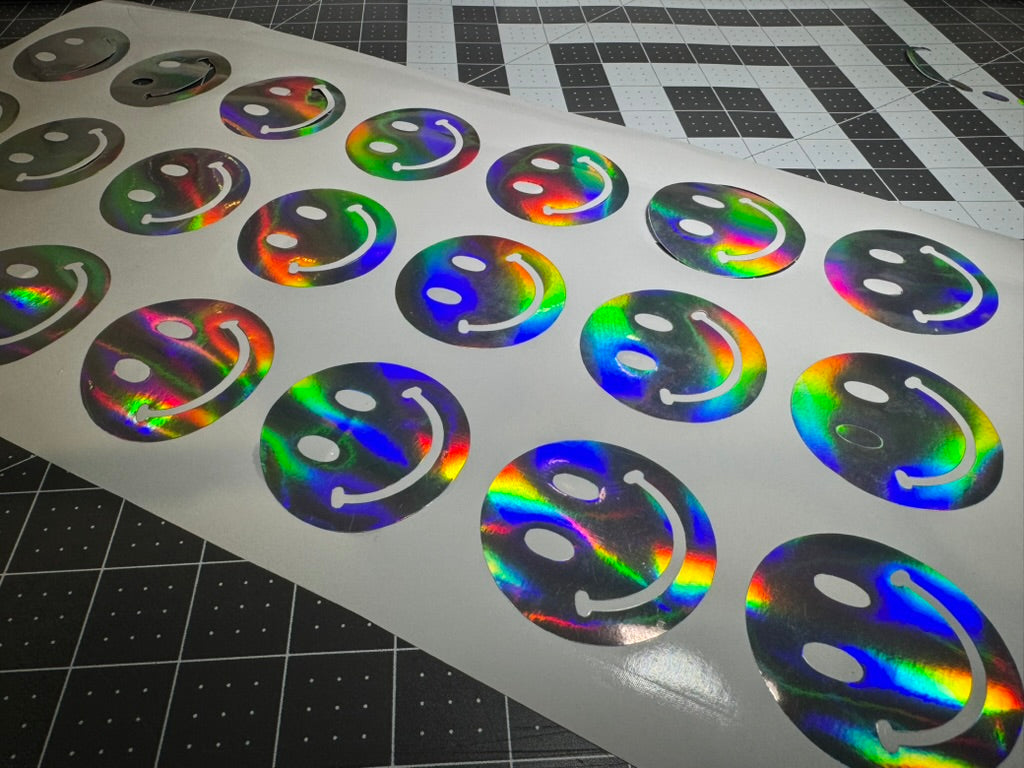
Holographic HTV – Gives a reflective, multi-color shine for bold and trendy looks.
-
Metallic HTV – Provides a chrome or foil-like finish for a sleek and stylish effect.
-
Stretch HTV – Designed for flexible fabrics like spandex and athletic wear.
How to Use Heat Transfer Vinyl
Creating your own custom HTV project is easier than you might think! Follow these simple steps:
1. Design Your Image
Use design software like Cricut Design Space or Silhouette Studio to create your custom design. Be sure to mirror your design before cutting since HTV is applied in reverse.
2. Cut the HTV
Load your HTV sheet into your cutting machine with the shiny carrier sheet facing down. Adjust the cut settings based on the type of HTV you're using and let the machine do the work.
3. Weed the Excess Vinyl
After cutting, remove any unwanted vinyl from your design using a weeding tool. This step ensures only the intended design remains on the carrier sheet.
4. Apply Heat and Pressure
Use a heat press or household iron to apply your design to fabric. Set the temperature and press time according to the manufacturer’s instructions. Press firmly and evenly to ensure proper adhesion.
5. Peel the Carrier Sheet
Once cooled slightly, peel off the clear carrier sheet. Some HTV requires a hot peel (immediately after pressing), while others need a cold peel (after it has cooled down completely).
Tips for Successful HTV Application
-
Choose the right heat settings – Too much heat can scorch the fabric, while too little may cause peeling.
-
Apply even pressure – A heat press ensures better results than an iron, but both can work with consistent pressure.
-
Wash garments inside out – This helps extend the life of your HTV design and prevents premature peeling.
-
Use a Teflon sheet or parchment paper – Placing it over the HTV before pressing prevents scorching and improves durability.
Get Started with HTV Today!
Heat Transfer Vinyl is an excellent way to personalize clothing, accessories, and home décor with professional-looking results. Whether you're crafting for fun or launching a small business, HTV offers endless creative possibilities. So grab your favorite vinyl, fire up your cutting machine, and start crafting today!


