Introduction
Working with vinyl has become a common part of many crafting and customization projects. Machines like Cricut and Silhouette make it possible to create detailed designs for everything from home décor to business signage.
As vinyl use has grown, so has the variety of materials available. One category that stands out is called brilliant vinyl.
Understanding what brilliant vinyl is and how it's used can help clarify the differences between materials and their applications.
What Is Brilliant Vinyl?
Brilliant vinyl is a premium adhesive vinyl product known for its vibrant colors, durability, and versatility. When crafters use Cricut and Silhouette machines, brilliant vinyl delivers enhanced color saturation, consistent finish quality, and superior adhesion compared to standard vinyl options.
This material emerged as crafters sought higher-quality results for their projects. The term "brilliant" refers to both the visual appearance and performance characteristics that set it apart from basic vinyl products.
Key features that make vinyl "brilliant" include:
-
Color vibrancy: Rich, saturated hues that maintain their intensity even after extended use
-
Finish quality: Smooth, uniform surface available in glossy, matte, and specialty textures
-
Cutting precision: Holds detailed cuts without tearing or stretching during the weeding process
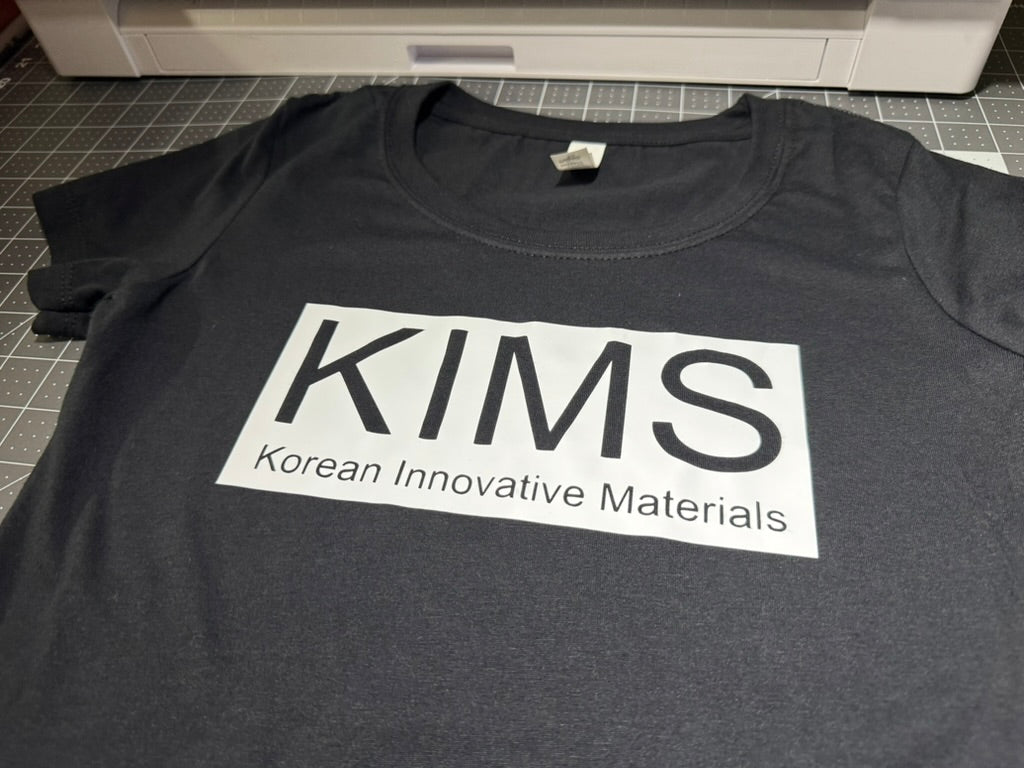
Brilliant vinyl works well for projects such as car decals, wall art, custom signage, and personalized items. When used in heat transfer form (HTV), it can also create durable designs on fabrics and apparel.
How To Use Brilliant Vinyl With Cricut And Silhouette
Setting up your cutting machine correctly helps achieve clean, precise cuts with brilliant vinyl. This process involves three main steps:
1. Preparing Your Cutting Machine
-
Place brilliant vinyl on the cutting mat with the shiny side up for adhesive vinyl or matte side up for heat transfer vinyl
-
Smooth out any bubbles or wrinkles using a scraper tool or credit card
-
Load the mat into your Cricut or Silhouette machine according to the alignment guides
-
Select the appropriate material setting in your cutting software (like "Premium Vinyl" for adhesive or "Heat Transfer Vinyl" for HTV)
2. Selecting The Right Cut Settings
Different machines require specific settings for optimal results with brilliant vinyl:
|
Machine Model |
Vinyl Type |
Pressure |
Speed |
Blade Depth |
Notes |
|---|---|---|---|---|---|
|
Cricut Explore Air 2 |
Adhesive Vinyl |
120 |
3 |
1 |
Use "Vinyl" setting |
|
Cricut Maker |
Heat Transfer Vinyl |
130 |
2 |
2 |
Use "Iron-On" setting |
|
Silhouette Cameo 4 |
Adhesive Vinyl |
10 |
5 |
1 |
Use "Vinyl, Glossy" setting |
|
Silhouette Portrait 3 |
Specialty Vinyl |
12 |
4 |
2 |
Test cut recommended |
For intricate designs with small details, reducing cutting speed while maintaining appropriate pressure helps prevent tearing.
3. Checking Blade Sharpness And Depth
Before cutting your full design, perform a test cut on a small corner of your brilliant vinyl. The test should:
-
Cut completely through the vinyl layer
-
Leave the backing or carrier sheet intact
-
Allow the vinyl to separate cleanly when weeded
If your test cut tears or drags the vinyl, your blade may be dull or set too deep. If the vinyl doesn't cut through completely, increase blade depth slightly or adjust pressure settings.
Popular Types Of Vinyl Rolls And Specialty Finishes
Brilliant vinyl comes in several varieties to match different project needs:
-
Glossy vinyl provides a shiny, reflective finish ideal for car decals and outdoor signage
-
Matte vinyl offers a non-reflective surface perfect for indoor displays and professional-looking wall art
-
Metallic vinyl contains reflective particles that create a shimmer effect for decorative projects
-
Glitter vinyl embeds sparkle elements for eye-catching designs on party decorations and fashion items
-
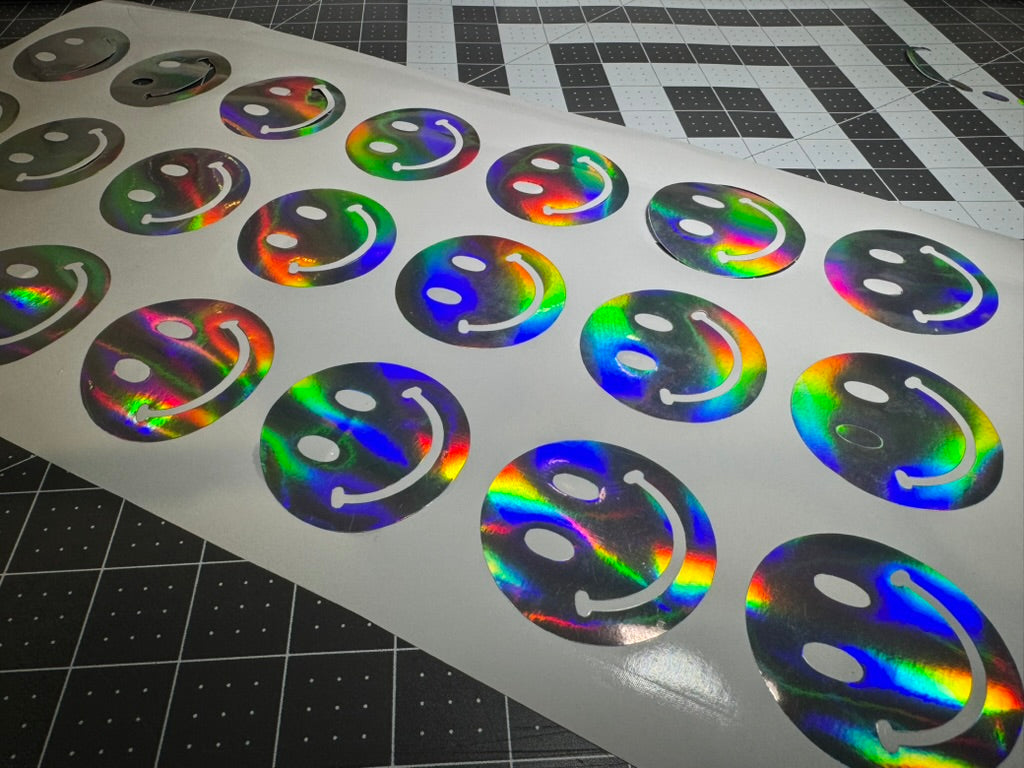
Holographic vinyl displays rainbow-like color shifts when viewed from different angles
Each type serves specific applications based on durability requirements and visual effect:
|
Vinyl Type |
Best Applications |
Durability |
Special Features |
|---|---|---|---|
|
Permanent Vinyl |
Outdoor signs, mugs |
3-5 years |
Waterproof, UV resistant |
|
Removable Vinyl |
Wall decals, labels |
1-2 years |
Easy removal, no residue |
|
Heat Transfer Vinyl |
T-shirts, bags |
Washable |
Requires heat application |
|
Glitter Vinyl |
Party décor, crafts |
2-4 years |
Sparkling finish |
|
Holographic Vinyl |
Stickers, art projects |
2-3 years |
Color-shifting effect |
KIMS Direct offers brilliant vinyl in these varieties, with consistent quality across both adhesive and heat transfer options.
Step-By-Step Guide For Cutting And Weeding Detailed Designs
Creating intricate designs with brilliant vinyl requires careful planning and execution:
1. Planning The Design Layout
Organize your design elements effectively before cutting:
-
Group similar colors together to minimize vinyl waste
-
Leave adequate space between elements for easier weeding
-
Position intricate details away from the edges of the vinyl sheet
-
Scale your design appropriately for its intended application
2. Performing A Test Cut
Before cutting your entire design:
-
Select a small, simple shape from your design
-
Cut it in an unused corner of your vinyl
-
Weed the test shape to check cut quality
-
Adjust blade depth, pressure, or speed based on results
3. Weeding Intricate Patterns
Weeding removes the excess vinyl around your design:
-
Use a weeding tool with a fine point for precise control
-
Start from the outer edges and work inward
-
Remove larger sections first to expose detailed areas
-
For tiny details, use a light touch to avoid lifting parts of the design
-
Consider using a light pad or placing the vinyl over a light source to see cut lines more clearly
Troubleshooting Common Vinyl Application Challenges
Even experienced crafters encounter issues when working with brilliant vinyl. Here are solutions to common problems:
Vinyl not sticking properly: Clean the application surface thoroughly with rubbing alcohol and let it dry completely. Apply firm, even pressure with a squeegee, moving from the center outward to create a strong bond.
Bubbles during application: Use a squeegee to press out air bubbles, working from the center toward the edges. For stubborn bubbles, gently lift the vinyl and reapply, or use a pin to release trapped air before pressing down.
Color bleeding or fading: For outdoor applications, apply a clear UV-resistant sealer over the vinyl. Keep finished items away from direct sunlight when possible, and use permanent rather than removable vinyl for long-term outdoor exposure.
Fixing misaligned vinyl: If the vinyl shifts during application, carefully lift it before the adhesive sets fully. For small tears or mistakes, consider incorporating them into the design or applying a small patch of matching vinyl.
Why Consistent Supply Matters For Small Businesses
Reliable materials make a significant difference for businesses that use brilliant vinyl regularly:
Inconsistent vinyl quality causes production delays when materials behave differently from batch to batch. When a business expects certain cutting settings to work but suddenly needs to adjust them, project timelines extend and productivity decreases.
Poor-quality vinyl also increases waste. When vinyl tears during weeding or fails to adhere properly, crafters must start over, using additional materials and time. This directly impacts profit margins and customer satisfaction.
KIMS Direct focuses on providing consistent brilliant vinyl products that:
-
Cut reliably: Maintain the same thickness and material properties across all orders
-
Weed cleanly: Feature precise cut lines that separate easily from waste material
-
Adhere securely: Bond strongly to intended surfaces without peeling or lifting
These qualities help businesses maintain efficient workflows and predictable results for their customers.
Elevate Your Projects With KIMS Direct
Brilliant vinyl transforms ordinary crafts into professional-quality creations through its superior color vibrancy, precision cutting ability, and lasting durability. Whether making custom decals, personalized apparel, or decorative signage, the right vinyl material significantly impacts the final result.
Notable projects that showcase brilliant vinyl's capabilities include:
-
Car decals that maintain color and adhesion through car washes and weather exposure
-
Custom T-shirts with glitter or holographic designs that withstand repeated washing
-
Wall art with intricate details that remain crisp and vibrant for years
KIMS Direct provides heat transfer vinyl and adhesive vinyl products that deliver consistent performance for both personal and commercial projects. Their vinyl rolls come in standard sizes compatible with Cricut, Silhouette, and other cutting machines.
FAQs About Brilliant Vinyl For Cricut And Silhouette
What makes brilliant vinyl different from regular vinyl?
Brilliant vinyl contains higher-quality pigments, a more uniform thickness, and stronger adhesive properties than standard vinyl, resulting in more vibrant colors and cleaner cuts for detailed designs.
How long does brilliant vinyl last on outdoor applications?
Brilliant vinyl typically maintains its appearance and adhesion for 3-5 years outdoors, depending on weather exposure and surface preparation.
Can brilliant vinyl be used on fabric without a heat press?
No, regular brilliant vinyl is designed for hard surfaces only; for fabric applications, you need heat transfer vinyl (HTV) and either a heat press or iron to activate the adhesive.
Does brilliant vinyl work with all Cricut and Silhouette models?
Yes, brilliant vinyl is compatible with all current Cricut and Silhouette cutting machines, though older models may require adjusted settings for optimal results.
How do I store unused brilliant vinyl to maintain its quality?
Store vinyl rolls in a cool, dry place away from direct sunlight, either standing upright or lying flat to prevent curling, and keep them in their original packaging to protect the adhesive layer.


